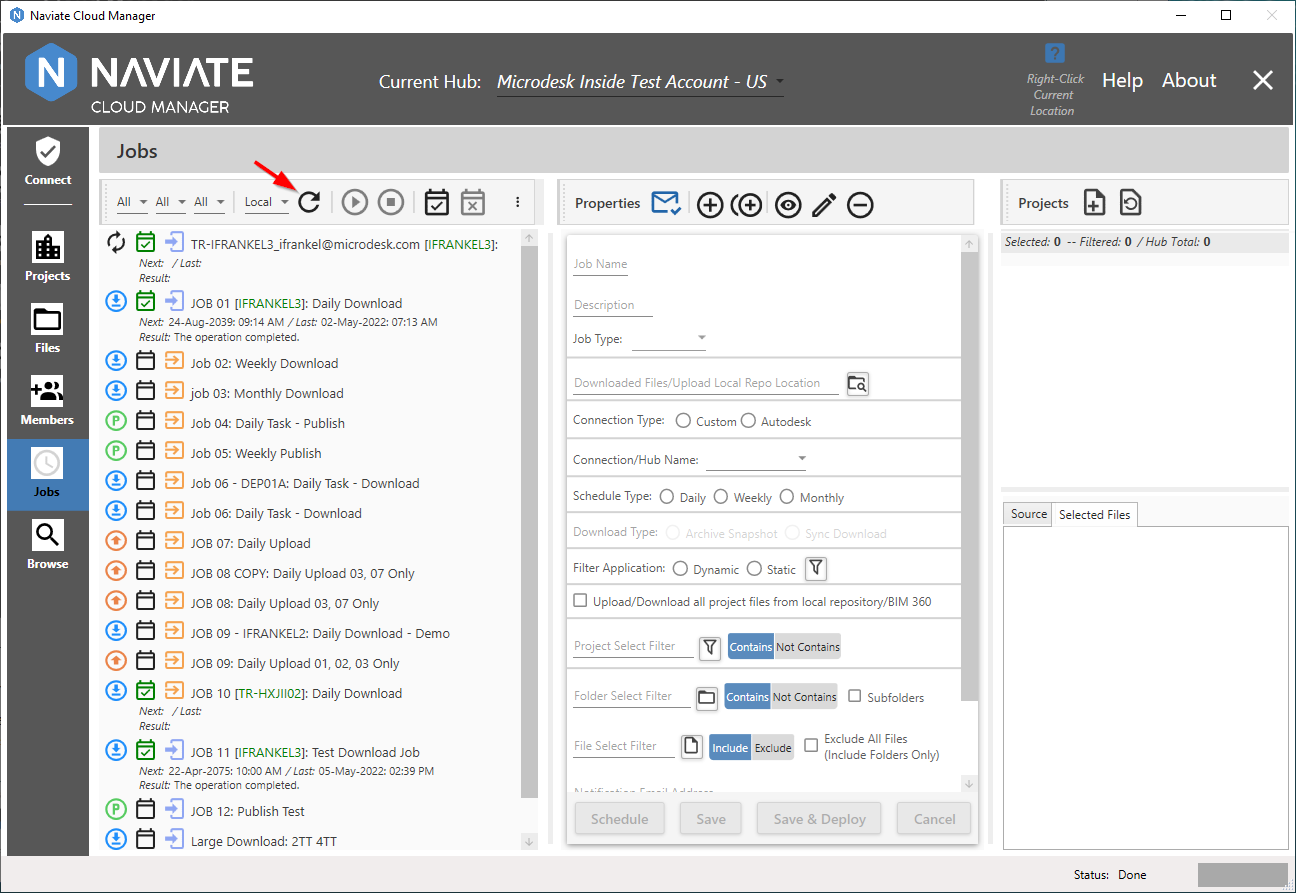
Refresh Data from Task Scheduler
The deployed task status information from the Windows Task Scheduler is updated whenever the Job listing is refreshed. This happens when any of the following occurs:
- When first entering the Jobs module from the Main Menu.
- After pressing the Refresh Data from Task Scheduler button.
- After double-clicking on a Job Listing row.
- After Adding a Job as a Scheduled Task.
- After Removing a Job as a Scheduled Task.
- After performing a Job definition Add operation.
- After performing a Job definition Copy operation.
- After performing a Job definition Edit operation.
- After performing a Job definition Delete operation.
- After canceling a Job definition Add or Edit operation.
- After changing the selection for the Job Type Filter.
- After changing the selection for the Job Deployment Server Filter.
- After changing the selection for the Job Connection Type Filter.
- After performing a Reactivate Token Refresh Job operation.
- After executing the selected Job by pressing the Run Deployed Job button.
- After stopping the selected Job by pressing the Stop Running Job button.
Simply stated, it can be refreshed manually at any time by pressing the ![]() Refresh Data from Task Scheduler button.
Refresh Data from Task Scheduler button.

The None and Local refresh typically takes little time and ensures the non-server status data being viewed is the latest and most accurate.
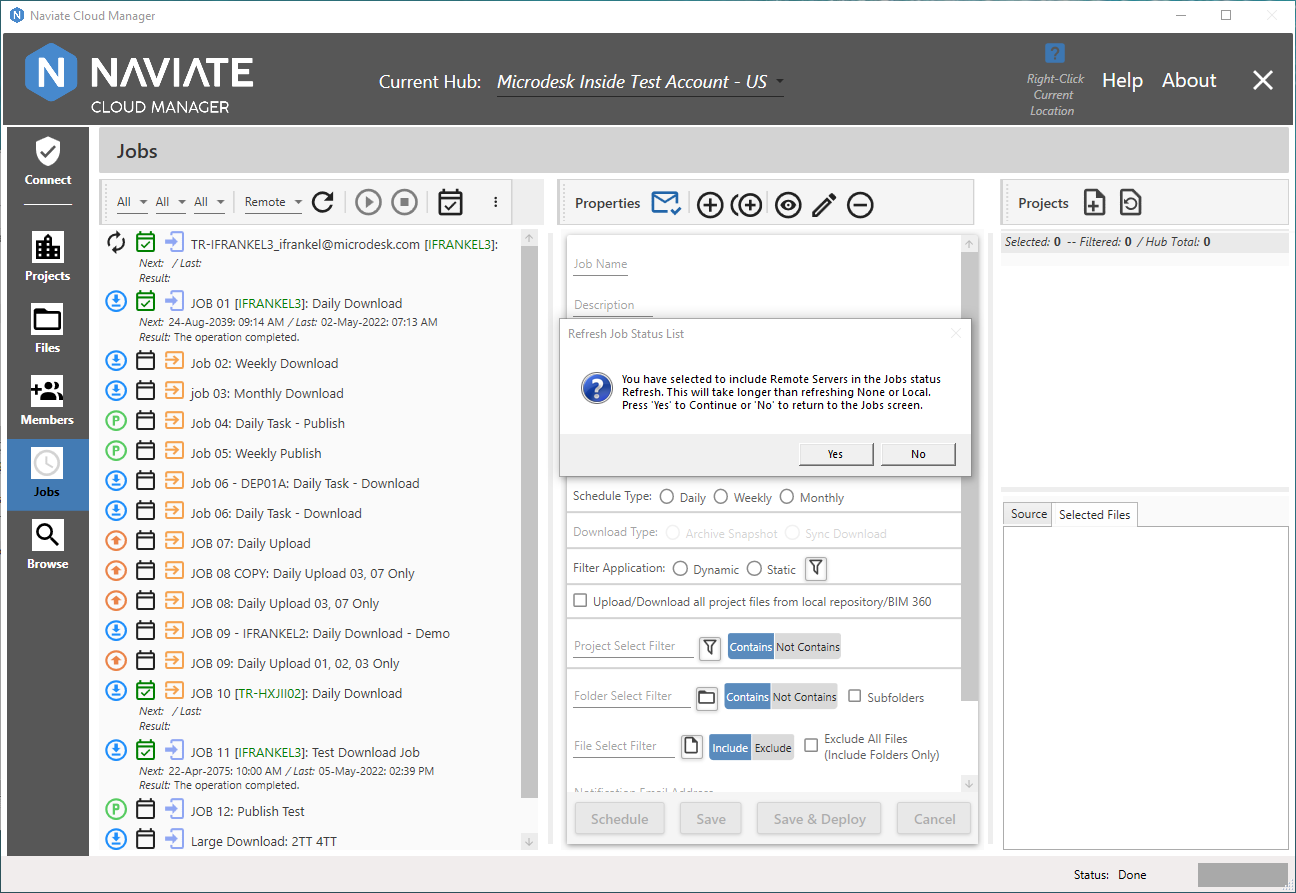
However, when Jobs are deployed to one or more Remote servers, it can take more time to do the Refresh. To assist in managing this process, Naviate Cloud Manager provides a warning that appears before doing a potentially time-consuming refresh.

The amount of time required to perform a Remote refresh will vary according to a number of factors and take anywhere from a few seconds to a minute or two or more. Please refer to the preceding sections, Server Filter, Refresh Operation and Server Location Refresh Filter in general for more information.