Remove a Job from the Task Scheduler
Once a Job has been deployed to the Windows Task Scheduler, it may become necessary to remove it. This might be due, for example, to it no longer being useful and needing to be removed from service altogether.
Another common reason would be the need to modify one or more of the Job definition settings. To make a change to a deployed Job, it is necessary to do the following:
To remove, or un-deploy, a Job that is currently deployed as a scheduled task, select it from the Jobs list and press the Remove Job from the Task Scheduler  button.

As with Add Job as a Scheduled Task, the confirmation dialog appears — in this case labeled Remove Job from Windows Task Scheduler. Similarly, it shows the Job Name, Job Type, Schedule Type, and scheduling details.
Pressing ![]() cancels the process without making any changes to the system. Press
cancels the process without making any changes to the system. Press ![]() to confirm and remove the Job from the Task Scheduler.
to confirm and remove the Job from the Task Scheduler.
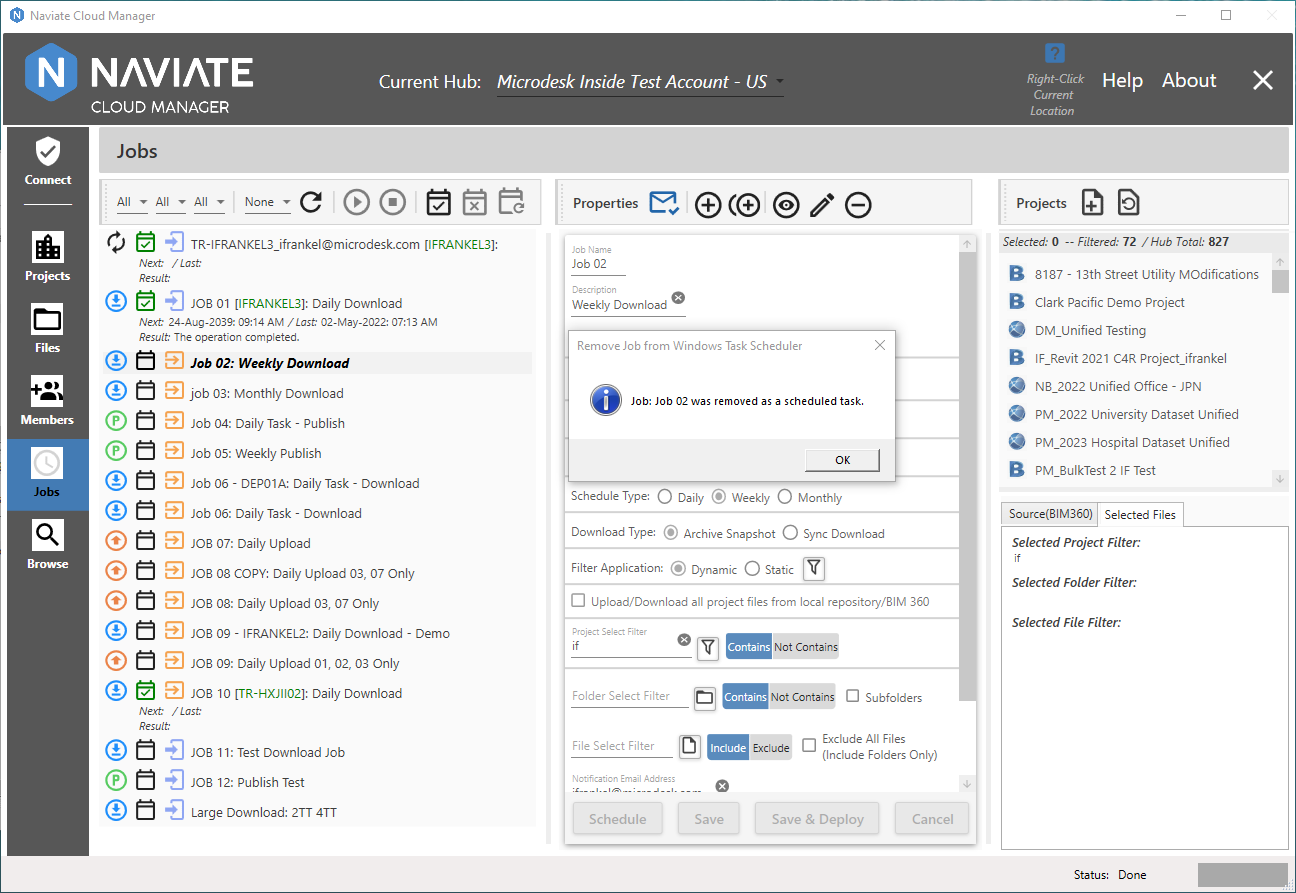
As with adding a Job, validations are first performed, as for example, to verify it isn’t already running. If no validation issues are encountered, the Job is removed from the remote server, the Removed verification dialog window is displayed and the ‘Deployed’ checkbox and Job properties field are all updated with the new status.