Edit a Job
Existing Jobs may be edited at any time, except when they have been deployed to the Windows Task Scheduler. When a deployed Job must be altered, it should first be removed from the Task Scheduler, edited, then added back to the Task Scheduler. To examine Job details for deployed Jobs, use the View option (see View a Job, below). Refer to the appropriate sections below for how to Add and Remove Scheduled Jobs.
To edit a Job, select it from the Listing and press the Edit ![]() button.
button.
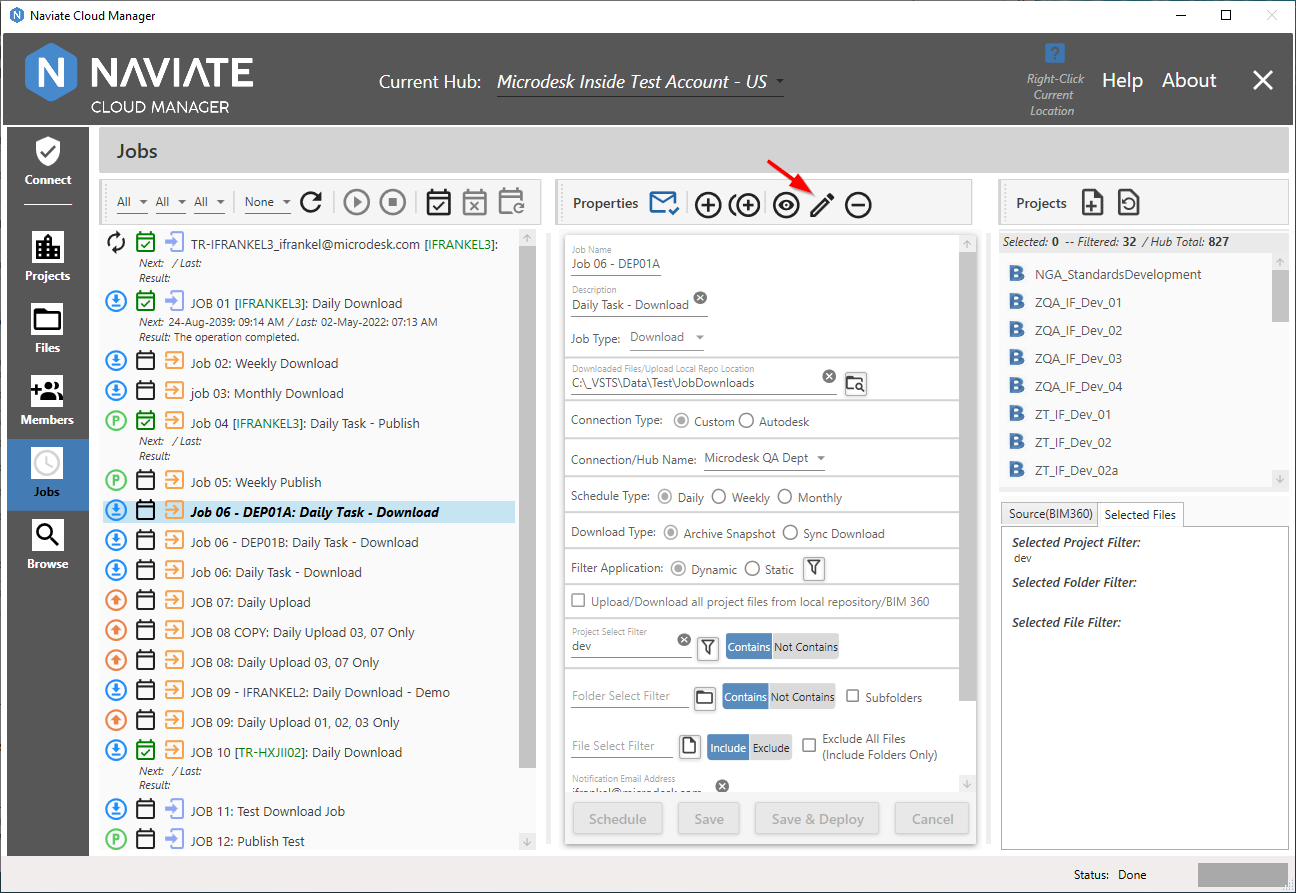
Once in Edit mode, all fields are available for entry, except Job Name and Job Type. If it is necessary to change only the Job Name, use Copy to create a new job with the desired name. If, however, it is necessary to change Job Type, then a new job must be created from the beginning.
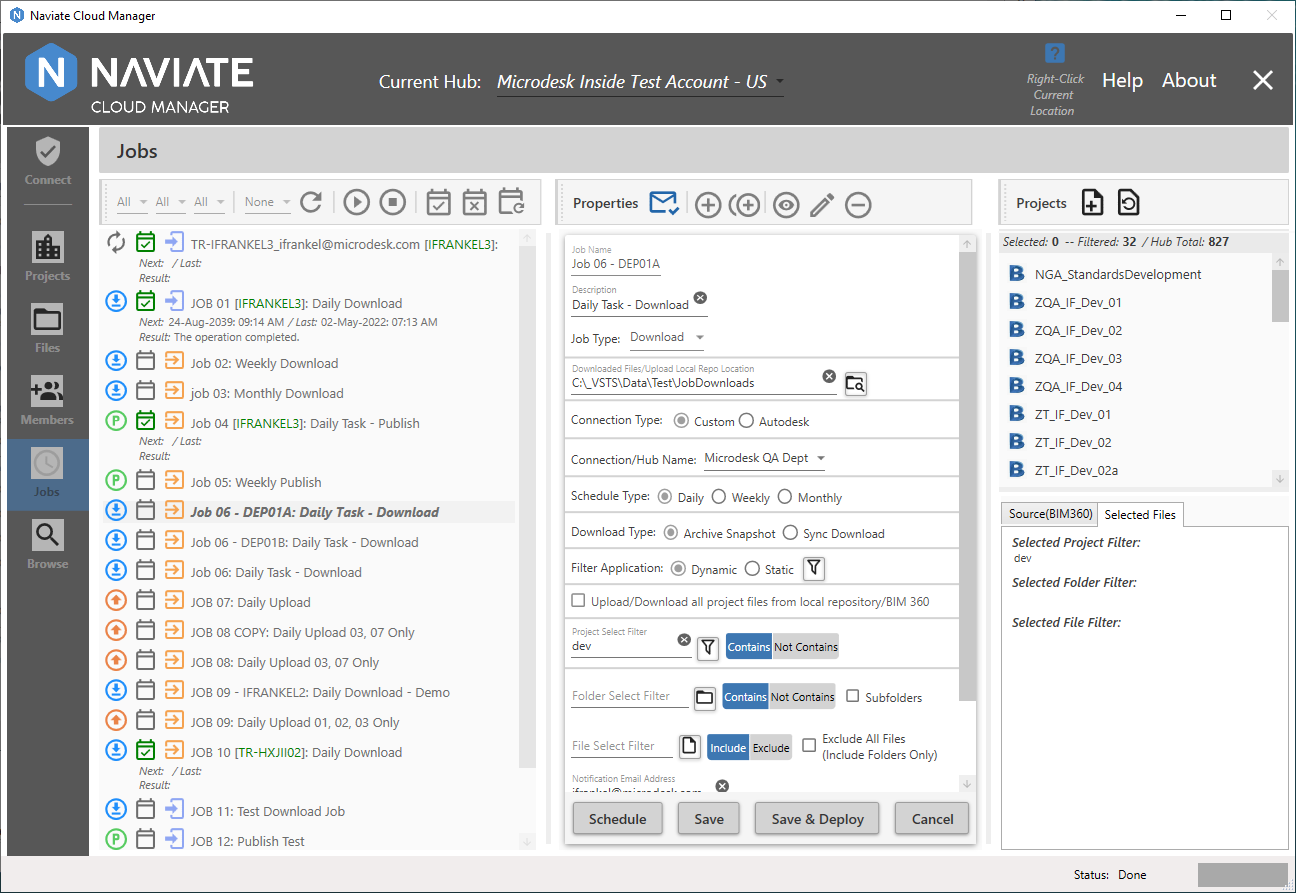
Data is entered here the same as described for Add a Job. The difference here, however, is two-fold. First, instead of ‘Next’, the ![]() button appears for navigating to the same schedule screens described above. Second, the
button appears for navigating to the same schedule screens described above. Second, the ![]() and
and ![]() buttons are immediately available for recording all entries and may be pressed without ever visiting the Schedule screen. It is important to note, however, that ‘Save’ or 'Save & Deploy' must be pressed after returning from the Schedule screen to record any changes made there. Also, pressing ‘Save’ returns navigation to browse mode, allowing navigation to other Jobs, program modules, etc. 'Save & Deploy', however, after saving the data, performs deployment of the Job to the Windows Task Scheduler.
buttons are immediately available for recording all entries and may be pressed without ever visiting the Schedule screen. It is important to note, however, that ‘Save’ or 'Save & Deploy' must be pressed after returning from the Schedule screen to record any changes made there. Also, pressing ‘Save’ returns navigation to browse mode, allowing navigation to other Jobs, program modules, etc. 'Save & Deploy', however, after saving the data, performs deployment of the Job to the Windows Task Scheduler.