Remote Share Path
For Naviate Cloud Manager to access a remote machine to deploy a job to the Windows Task Scheduler, someone with administrator capability must login to the machine and perform certain setup tasks. These tasks are described in detail in the Scheduled Jobs chapter, under Remote Server Setup and Configuration. Configuring and assigning access privileges to the share falls under this category.
Depending on the organization, defining a share for remote access typically falls under the job description of IT or Network Administration. For the purpose of entering a Remote Share Path, the remote share name, once defined, is shown as the Network Path for the defined folder.
The folder to be defined is C:\ProgramData\Microdesk.
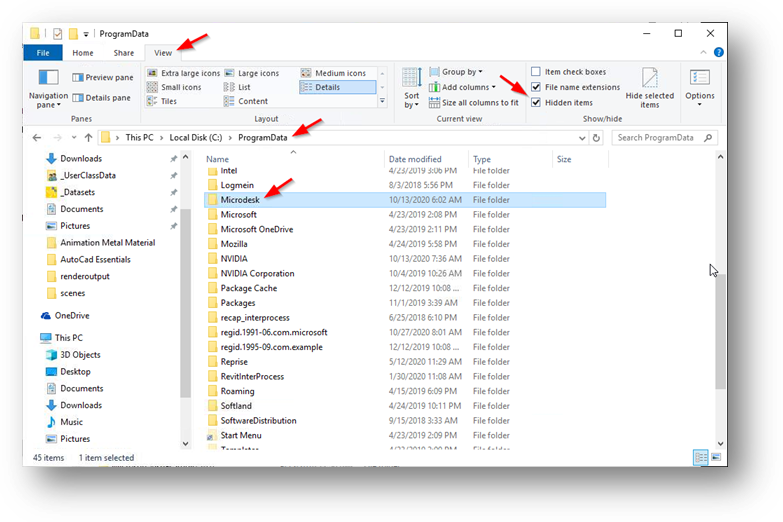
Using the Windows File Explorer, C:\ProgramData will not be available until Hidden Files has been turned on. To do so, go to the View tab and check hidden files, as shown above.
Once the Microdesk subfolder has been located, right click and select Properties to bring up the following screen.
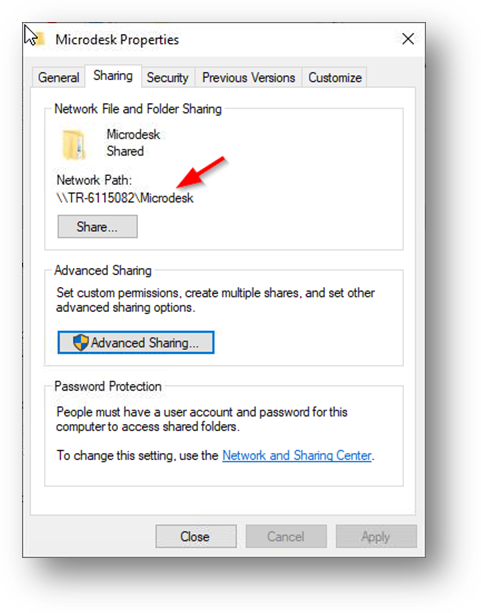
The Network Path, as shown in the Properties popup, contains the information we’re looking for. If the user defined below has write access to this Windows Share/Network Path, Naviate Cloud Manager will be able to deploy Jobs to the server.
Please Note — In some organizations — and perhaps only for certain machines — a Network Path, as shown above, may need to be altered to substitute the IP Address for the machine name. This depends on whether the machine name is adequately defined to provide remote access to the system via the machine name. Using the above as an example, this would mean entering \\192.168.3.80\Microdesk as the Remote Share Path value. The ultimate test regarding whether this necessary is to use the Verify Remote Share button (see following) to verify the connection. If it passes, it should be able to deploy Jobs and perform all other necessary work.
Once a Remote Share has been entered, it can be verified while still on the Add or Edit screens. First, make sure the correct data values have been entered for the following:
- Remote Share
- User Name
- User Password
- Domain/Server Name
Next, press the ![]() button at the bottom of the screen. It performs the same type of validation as pressing the Verify Remote Share
button at the bottom of the screen. It performs the same type of validation as pressing the Verify Remote Share  button at the top of the screen — apart from the convenience of doing it while editing, there is no difference between validating it with one button or the other.
Please Note — For Naviate Cloud Manager to deploy Jobs and communicate with remote computers, the Remote Share Path must be a native Windows share. If the organization utilizes NAS technology to control access to the network, this must be configured to allow the required access.