Enter the Spreadsheet Data
Locate the “Microdesk BIMrx Cloud Manager Add Projects Template.xlsx” template file from the extraction folder of the distribution zip file (refer to Unzip Distribution Package). Right click on the file and select the “Open” option. The empty template will be displayed in Excel (see below).
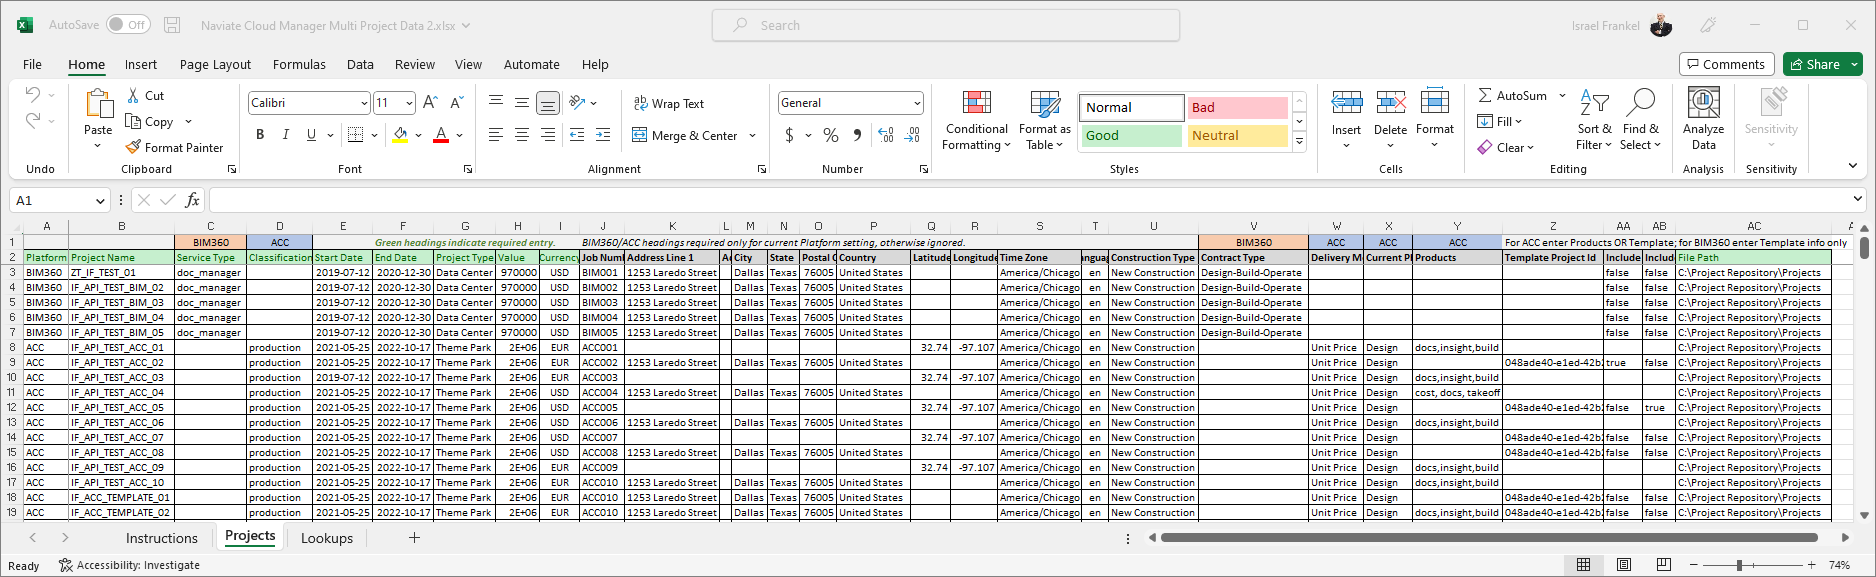
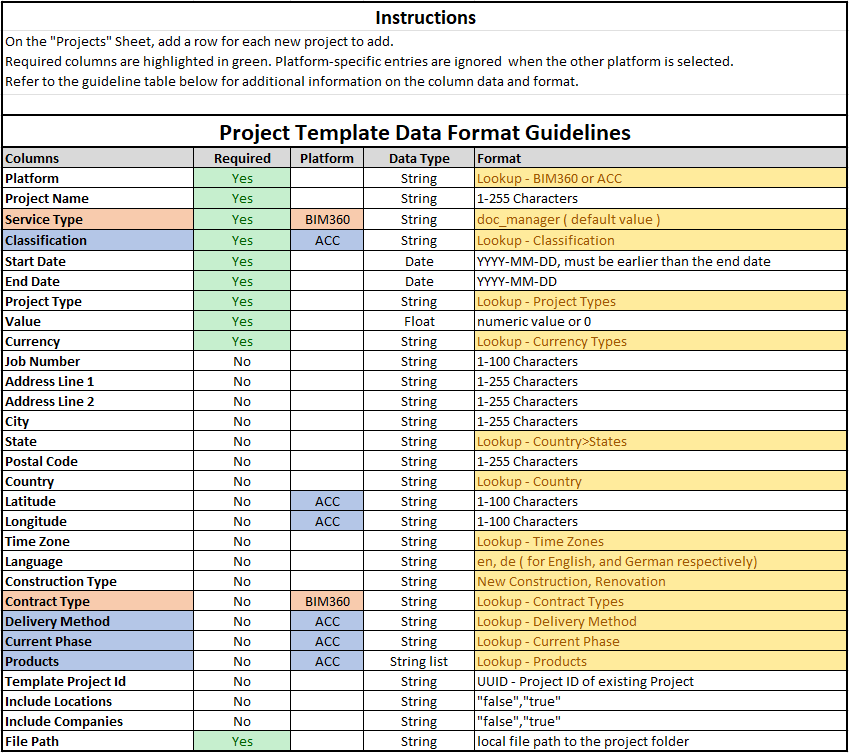
Populate the template with a row for each new project to be created using the guidelines provided below, which are found on the spreadsheet Instructions tab sheet.

The template sheet “Lookups” provide the lists for the respective lookup values. For the most current information refer to the Autodesk® Autodesk Platform Services (APS) API documentation located at:
- https://forge.autodesk.com/en/docs/bim360/v1/reference/http/projects-POST/
- https://forge.autodesk.com/en/docs/bim360/v1/overview/parameters/
Failure to follow these guidelines will result in an error and the project will not be created.
The column, File Path, indicates the location on disk where all the related project documents are stored. In the section below, instruction will be provided on how to upload the related files into the Autodesk® BIM 360®/ACC cloud. The example below indicates the parent path for the project entered on that line. If, for example, the Project Name is “Acme Building Design”,

and the File Path is “C:\Project Repository\Projects”
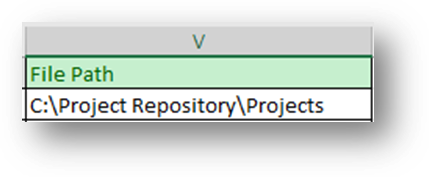
a path will be created on the local disk for the project at “C:\Project Repository\Projects\Acme Building Design”.
Important — In addition to created a folder for the project just created in the File Path assigned above, an entry is made into an internal database. This database is used by the Files and Jobs module operations that upload and sync files from the local disc to BIM 360®. It is important to note that this location can be changed at any time from the Browse module using the Update the Project Database functionality located there.
Once the spreadsheet has been completely filled out save the template using a different name. This will preserve the original template file unchanged for future use.