Add Existing Projects to Database
When adding projects to BIM 360® using Naviate Cloud Manager, the last column specified in the spreadsheet template is the File Path (refer to Enter the Spreadsheet Data). This entry contains where the local folder structure and files for the project are stored. This location is then used to indicate to Naviate Cloud Manager where to find the files that are to be uploaded to BIM 360®— adding to or updating the files located there. However, what about assigning a local Project File Repository location for existing projects that were not added using Naviate Cloud Manager? The Update the local project database functionality described here addresses that situation.
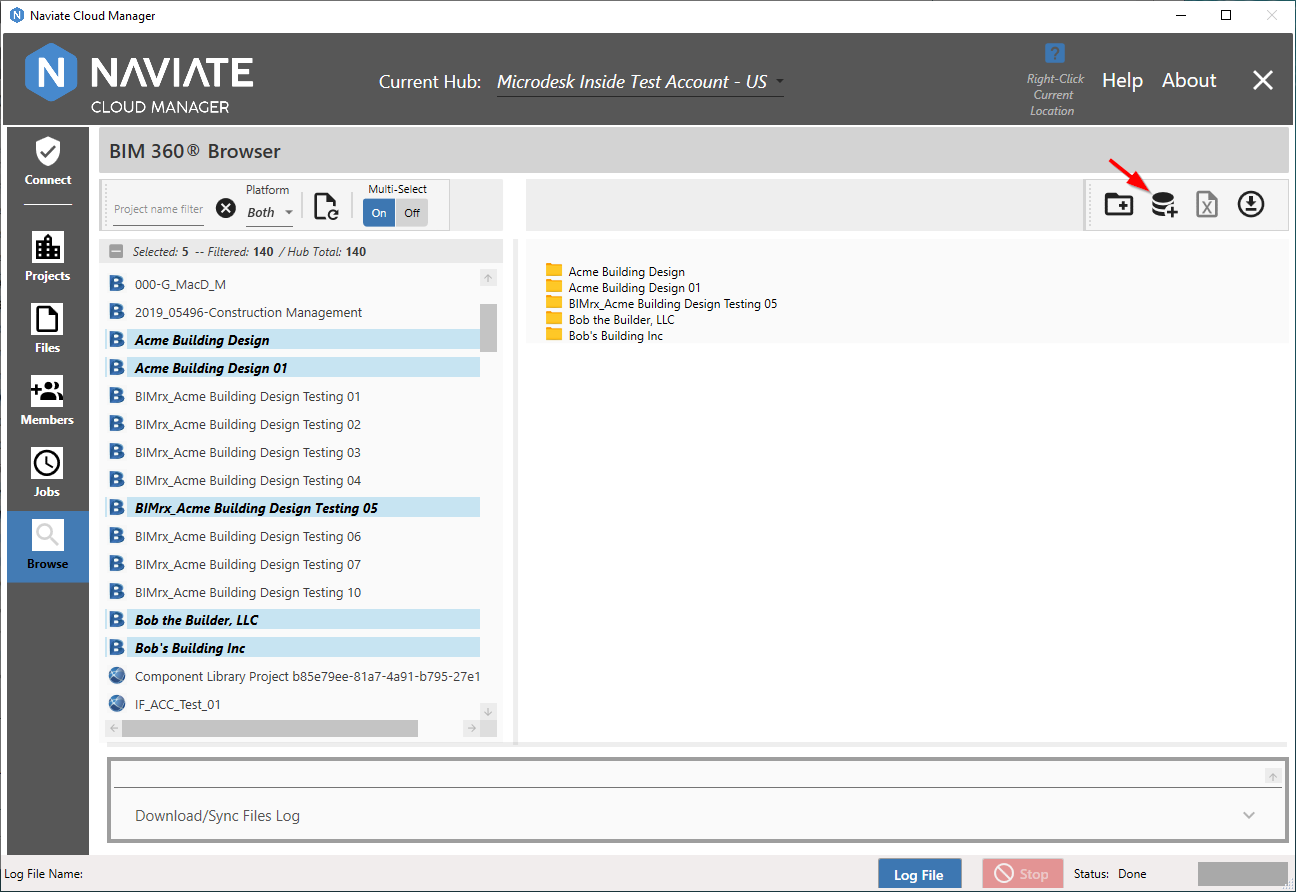
With Multi-Select set to On and one or more projects selected, press the Update the local project database for the selected projects ![]() button to bring up the Update the Naviate Cloud Manager Project Database dialog.
button to bring up the Update the Naviate Cloud Manager Project Database dialog.
After pressing the ![]() Update Local Project Database button, the following dialog window appears:
Update Local Project Database button, the following dialog window appears:
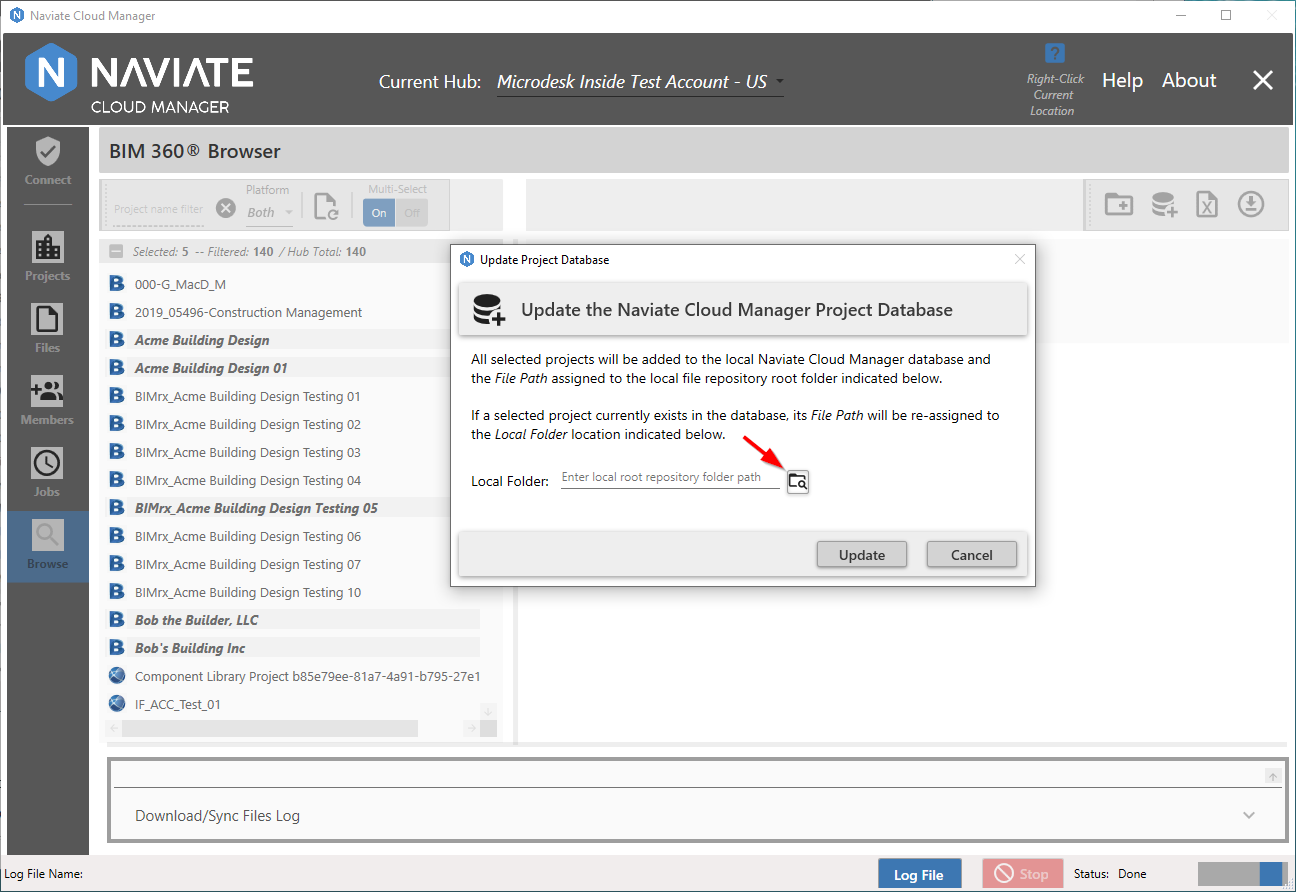
This dialog contains the Local Folder setting. It is the same as the File Path setting used by the Project spreadsheet template (see Enter the Spreadsheet Data, above). This location may be typed into the field or accessed via the Select Project file path Local Folder ![]() button. Once it is verified as being correct, press the Update button perform the operation.
button. Once it is verified as being correct, press the Update button perform the operation.
The project database Update procedure can be invoked as often as required and can be used to re-assign or assist in relocating local project file repositories.
Tip — Use the Update the Naviate Cloud Manager Project Database functionality to assist in uploading files to projects not originally created using Naviate Cloud Manager.