Email Verification
Once the above fields have been filled out—and before they are saved—the settings should be tested.
Please Note—The Email name and verification email address are intentionally not saved. This protects against a situation where person A creates the settings and person B maintains them and inadvertently sends the verification email to the wrong person.
To test the settings, do the following:
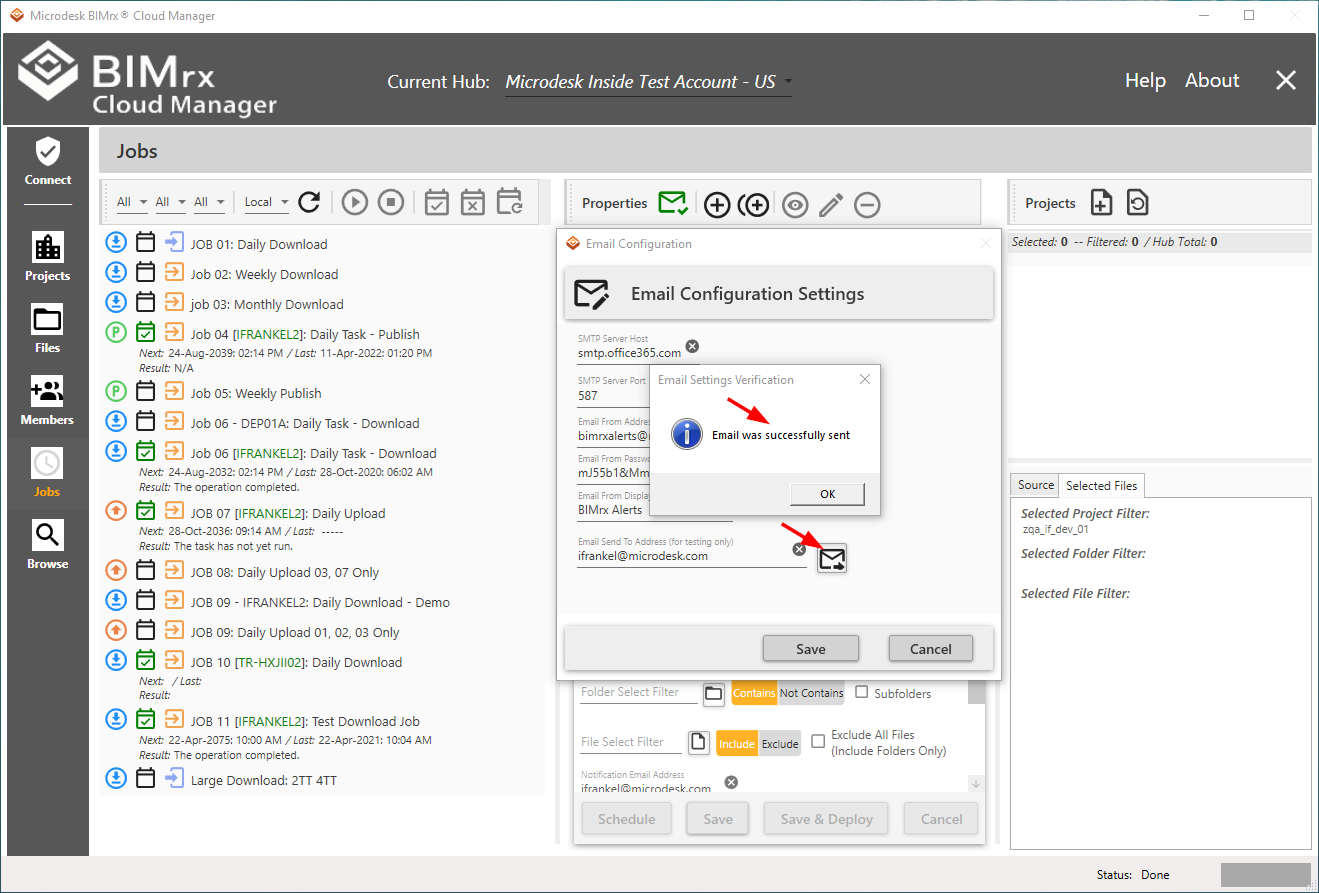
- Enter the Email from Display Name in the designated field. This is the name of person to whom the test email will be sent.
- Enter the test email recipient email address in the Email Send To Address field. This is the email address to which the email will be sent.
- Press the Send Verification Email
 button.
 - If the settings are valid, a dialog box stating a successful send occurred should appear.

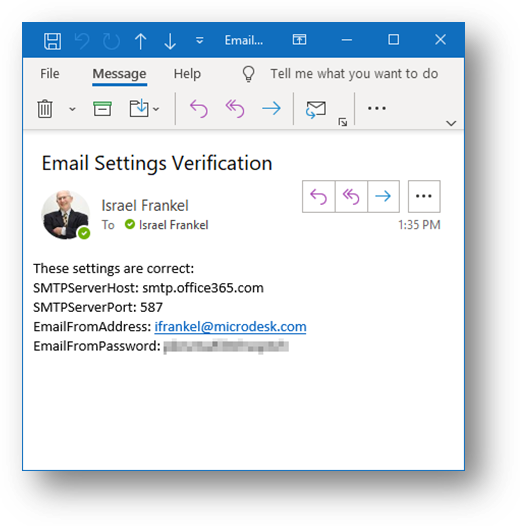
Additionally, the following email should arrive:

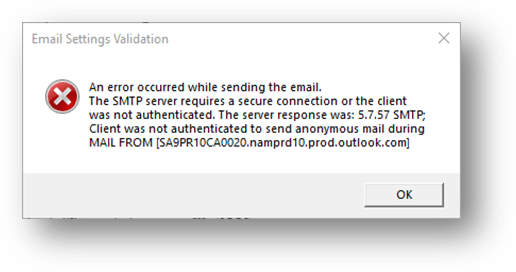
If the validation fails, the system will clearly indicate it with a message similar to the following one:

This indicates one or more of the configuration settings are wrong and must be re-evaluated. The settings would then be modified accordingly, and the validation re-sent. The process can be repeated as often as necessary until a successful configuration is arrived at.
Please Note—in case IT personnel should inquire, all connection information entered here—as with that entered for the BIM 360® connection—are stored in securely encrypted, strong key-protected files.