Export Data to Microsoft Excel
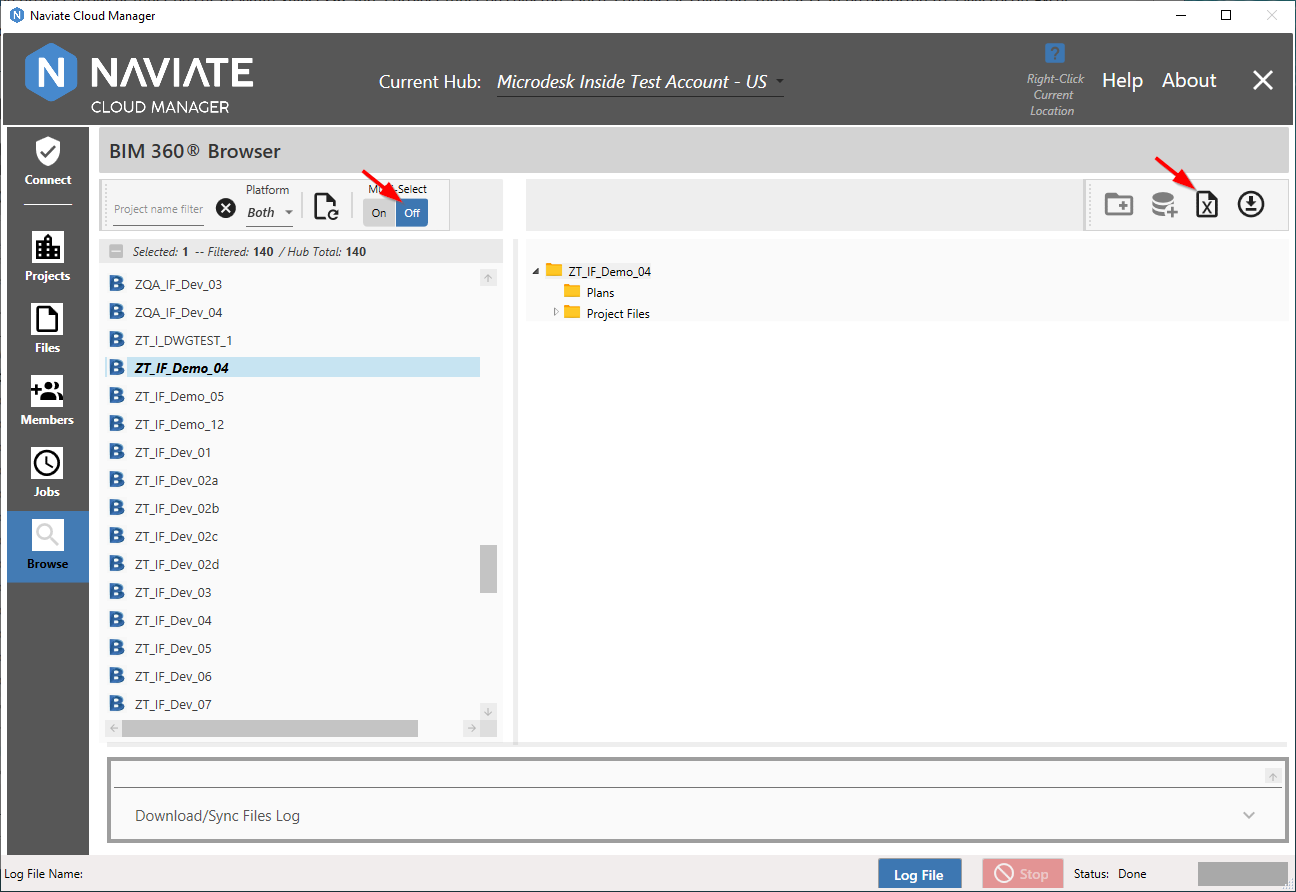
To Export to MS Excel, the project browser must be set to Multi-Select Off and a project must be selected. Once a project is selected, the data can be exported to a Microsoft Excel spreadsheet. Select the desired project under Autodesk® BIM 360® Browser, select the parent folder for the export from the project display and press the Export to MS Excel button ![]() .
.
Based on the folder selected, all files and folders contained below the selected folder will be exported. Further, it can export all folders — including those containing no files — or only folders containing a file entry. A dialog is presented displaying the two options:
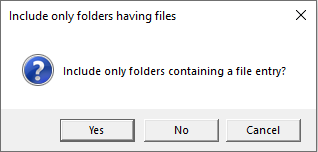
Press Cancel to discontinue the process and return back to the Browse screen.
After responding to the dialog with either Yes or No, the standard MS Windows file location dialog is displayed.
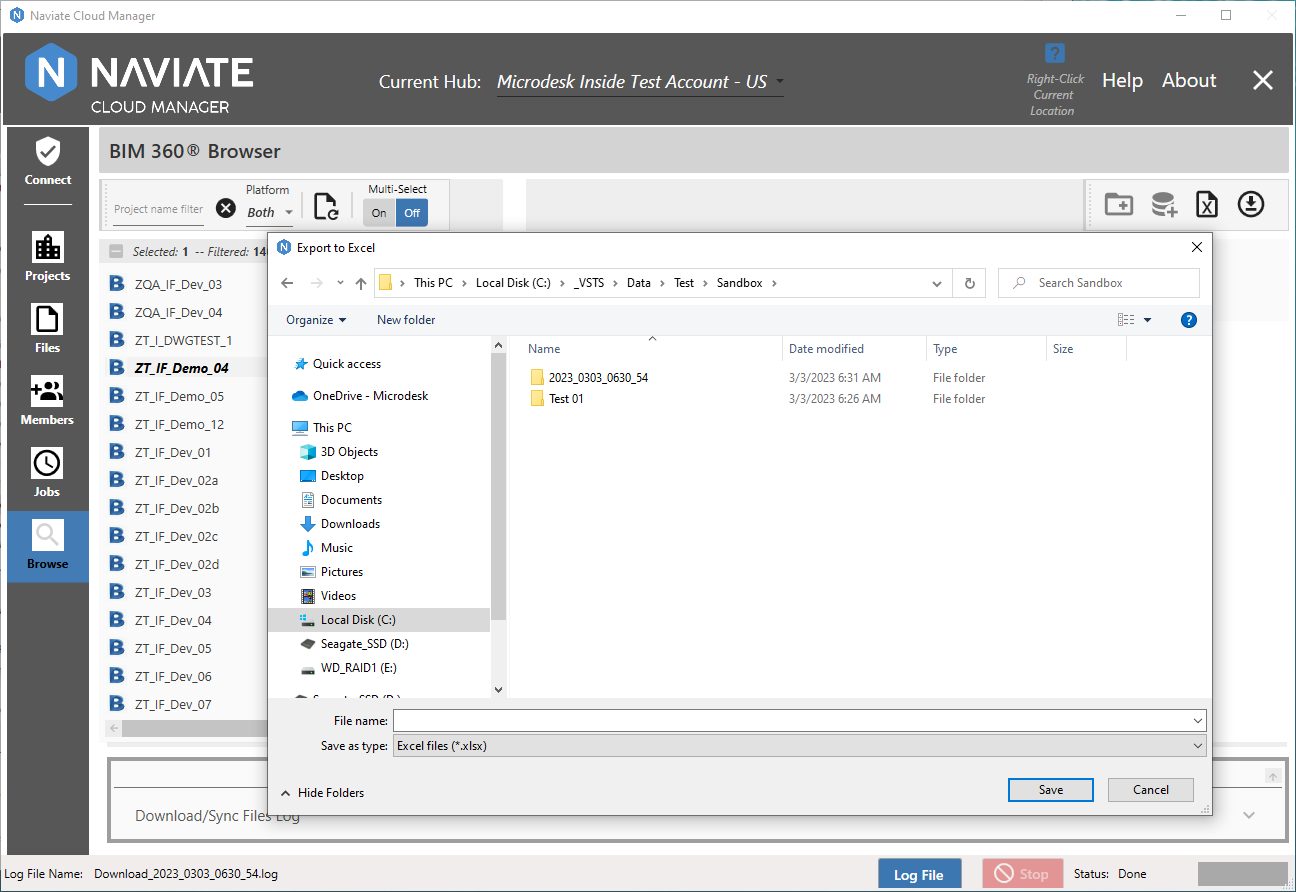
This allows the user to assign a name and file system location for the export file that will be created. The Export process can be terminated by pressing the Cancel button.
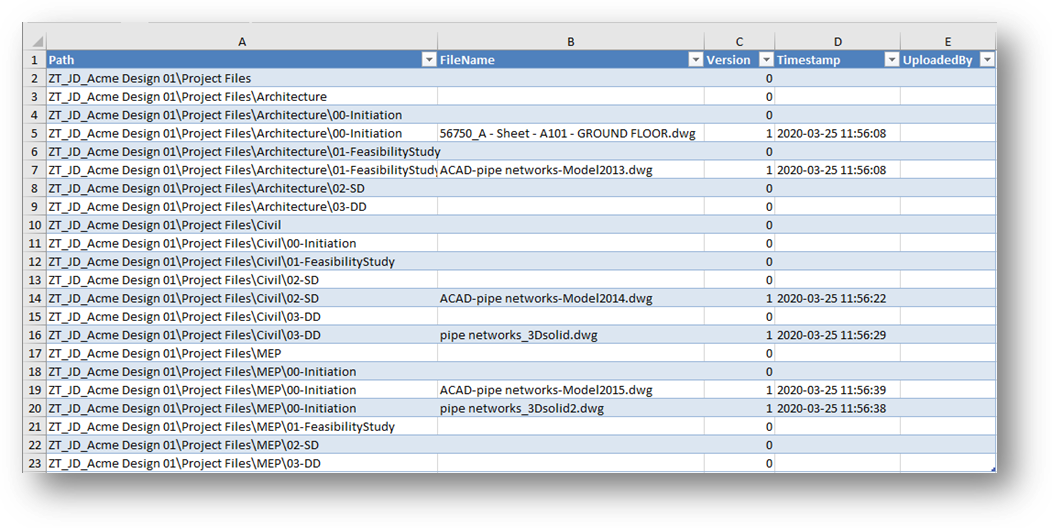
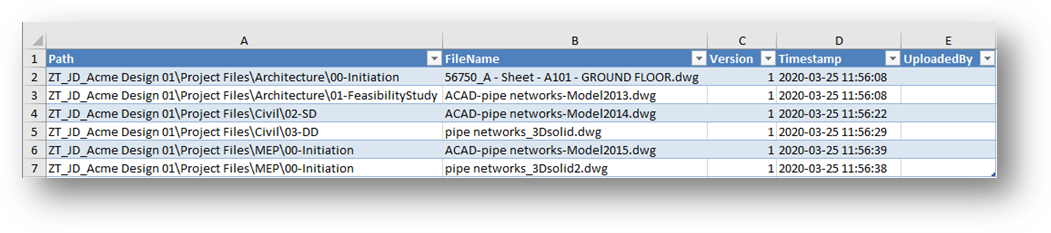
Answering Yes to the dialog produces the following result:
While answering No results in the following: