Add
Add a new Custom Connection definition by pressing the Add ![]() button. No row need be selected — Add is always available.
button. No row need be selected — Add is always available.
Naviate Cloud Manager requires that certain necessary configuration settings be defined to connect to Autodesk® BIM 360®. These settings are:
|
|
|
|
|
|
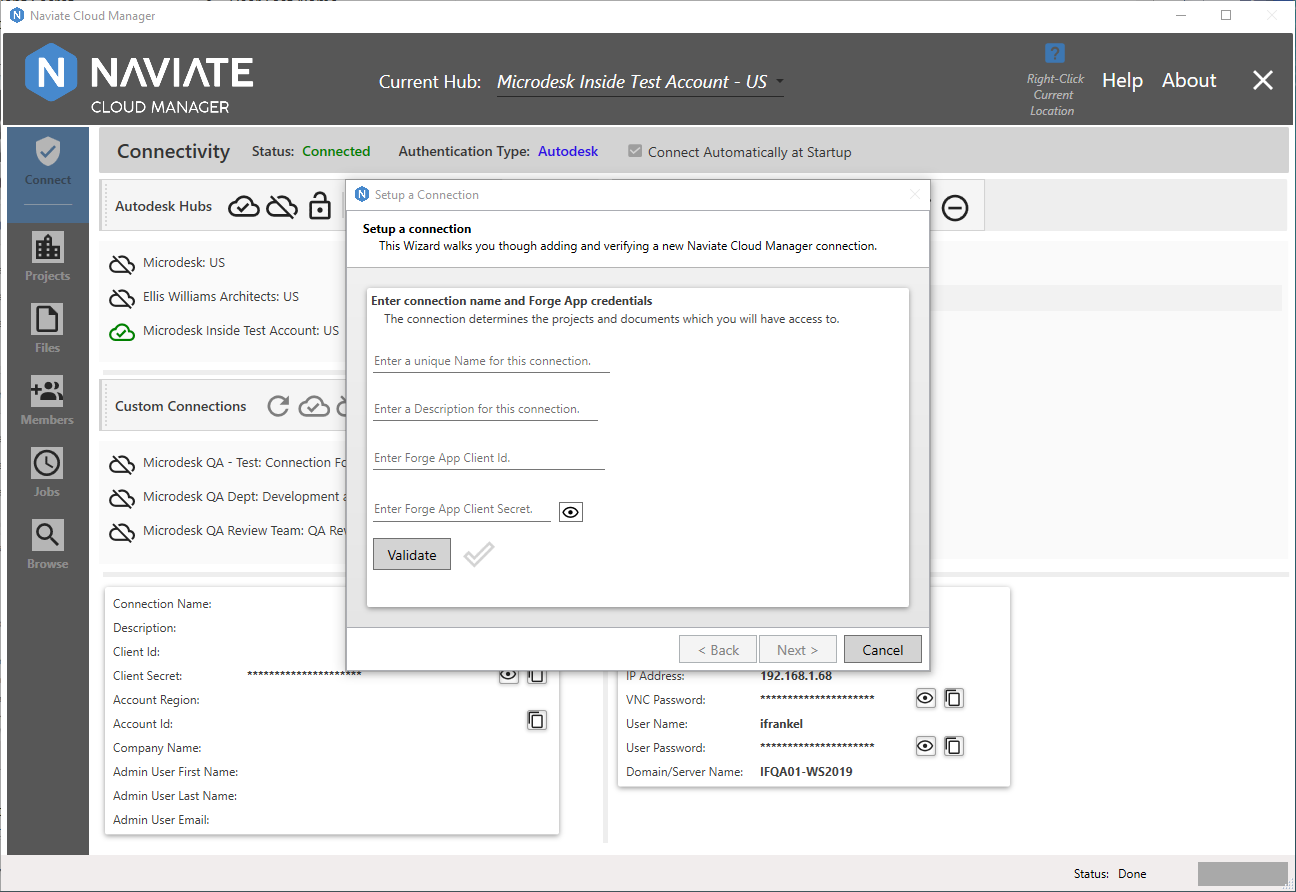
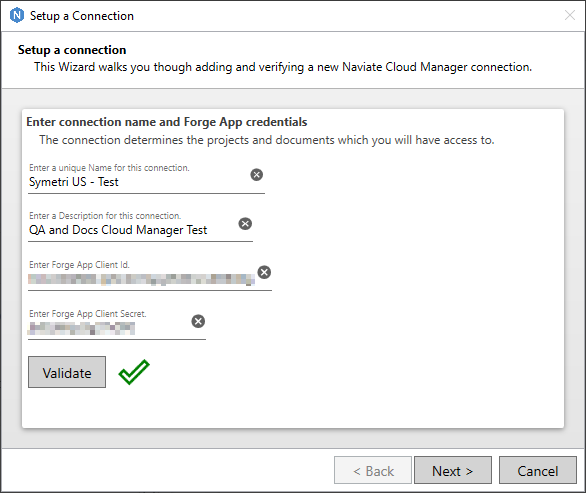
Assign a name for the connection and a description to identify it. Keep in mind there can be multiple connections defined, so adopt a naming convention that will be clear and recognizable. Now enter the Autodesk® Forge App Client Id and Client Secret entries (refer to Setup above) and click the Validate button. Upon a successful validation, the Next button becomes active; now click the Next button to continue.
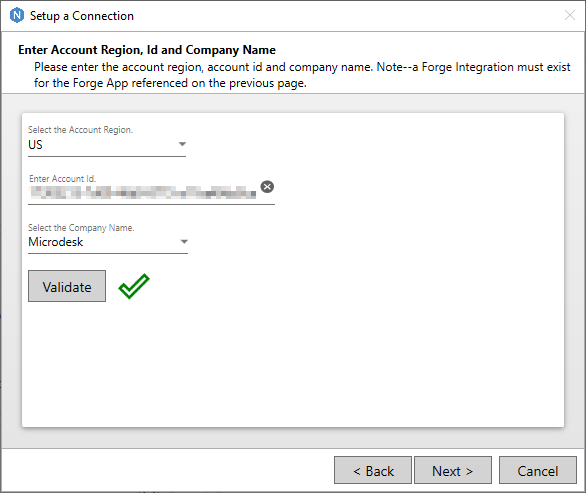
The Account Region defaults to US and no extra steps are necessary to select it. If, however, the connection account region is EU, then choose it from the dropdown list and continue. Enter the BIM 360® Account Id and select the Company Name from the dropdown list in the second page of the wizard dialog (refer to Setup above for the correct Account Id) then click the Validate button to enable the Next button.
Note — Although the default region is automatically set to US, this default entry can easily be changed to EU by changing the default_region_code in the following file:
C:\Program Files\Microdesk BIMrx Cloud Manager\CloudManager.exe.config
The setting should appear as follows for a default of eu.
<Microdesk.BIMrx.CloudManager.Properties.Settings>
<setting name="default_region_code" serializeAs="String">
<value>eu</value>
</setting>
As mentioned, no change is necessary here for a us default, since this is “baked in” to the application code and a blank entry here appears in the application as us.
Tip — When entering the Account Id, if there is a problem with it not being valid or having been entered incorrectly, the following message will appear:
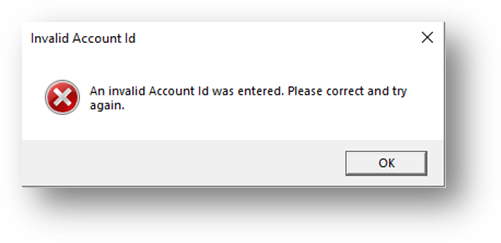
However, if the following message appears:

It means that either the Autodesk® Forge App and BIM 360® Custom Integration haven’t yet been setup, or they don’t match the Account Id entered. For more information, please refer to the previous section on Setup.
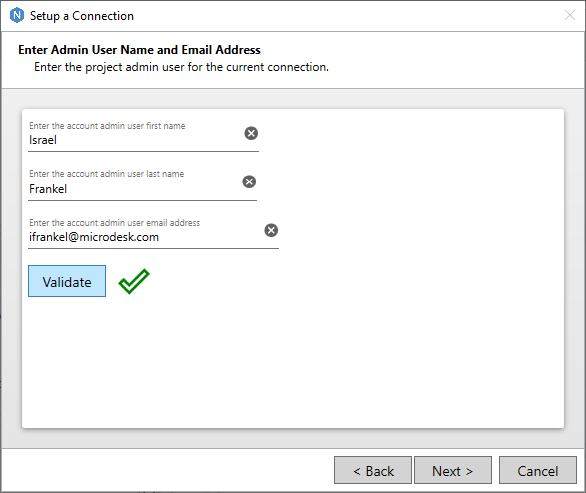
The third page asks for the first and last names and email address for the admin user. Upon successful validation, click the Next button once it becomes active to proceed to the final wizard dialog page.
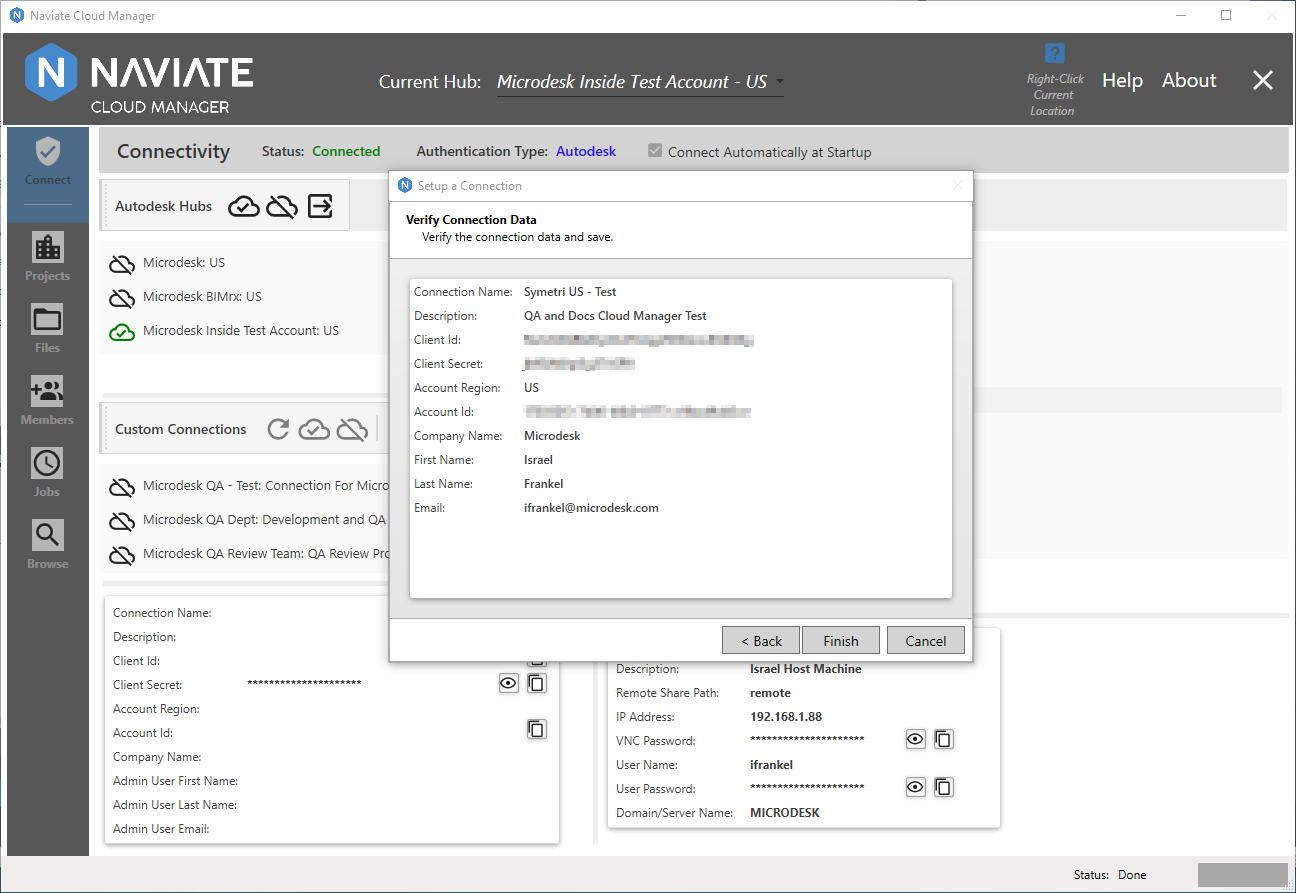
The final page presents an opportunity to review all entries made, plus several additional options. One option is to press Cancel to abandon the process altogether. Entries won’t be saved and a connection (or a new connection, if the app was already connected) won’t be established. Another option is to press Back to change any of the previous entries.
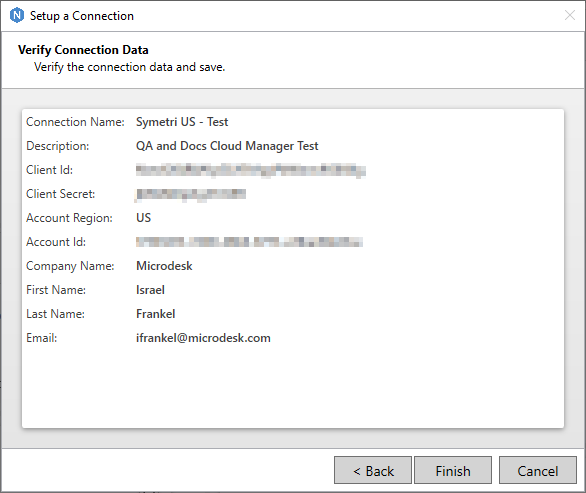
When all data has been verified and/or adjusted, press Finish to complete the process and save the connection settings. These settings are encrypted and stored on the system. They are available for establishing a connection when the system is run and copying to remote servers automatically when scheduled Jobs are deployed.
Additionally, after pressing Finish the Connect Now dialog appears:
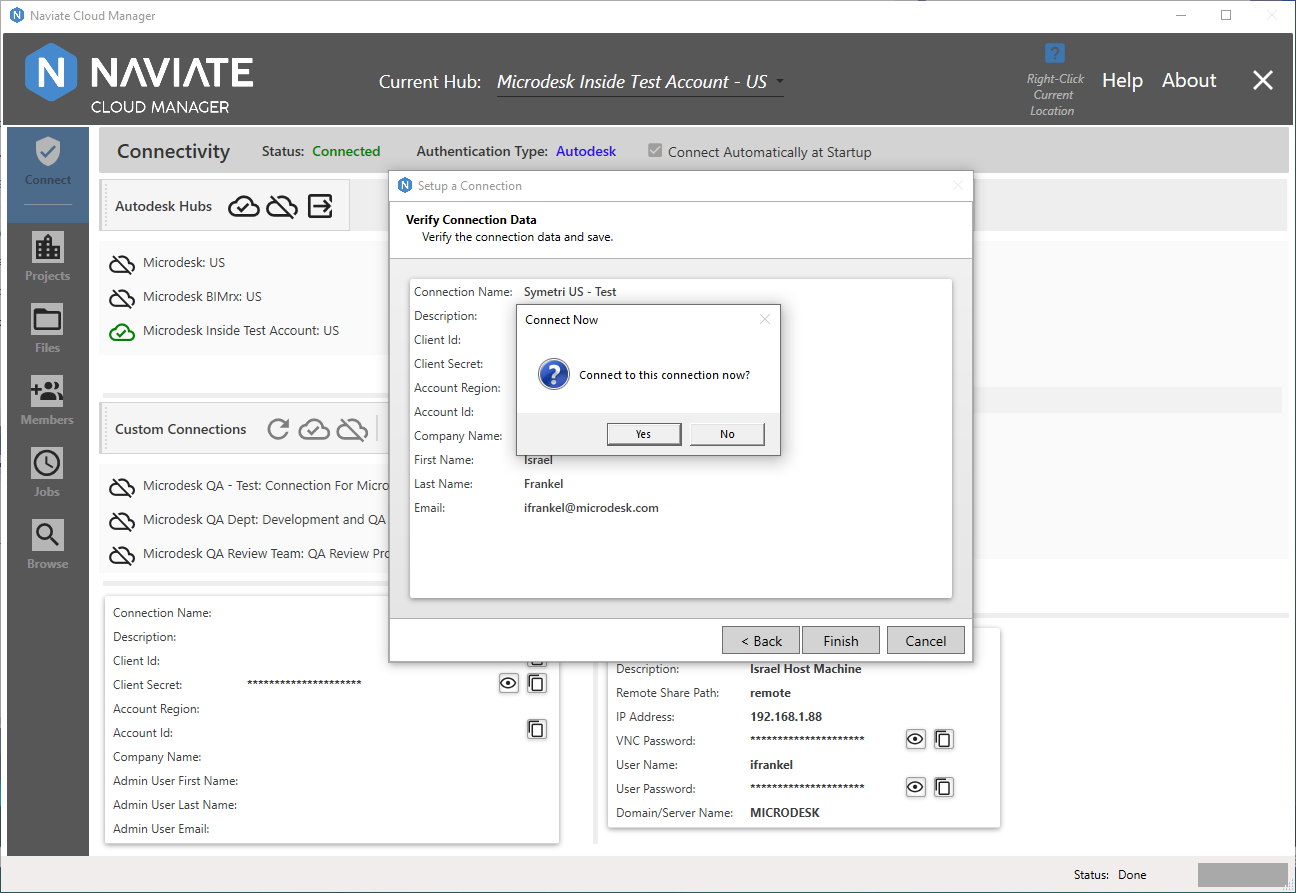
Clicking “Yes” establishes this Custom Connection to Autodesk® BIM 360® and the application is immediately ready for use. It will automatically log off any current connection — or login if no current connection is connected to. Pressing “No” will still save the connection but nothing else changes, whether currently connected or disconnected.