Installer Steps
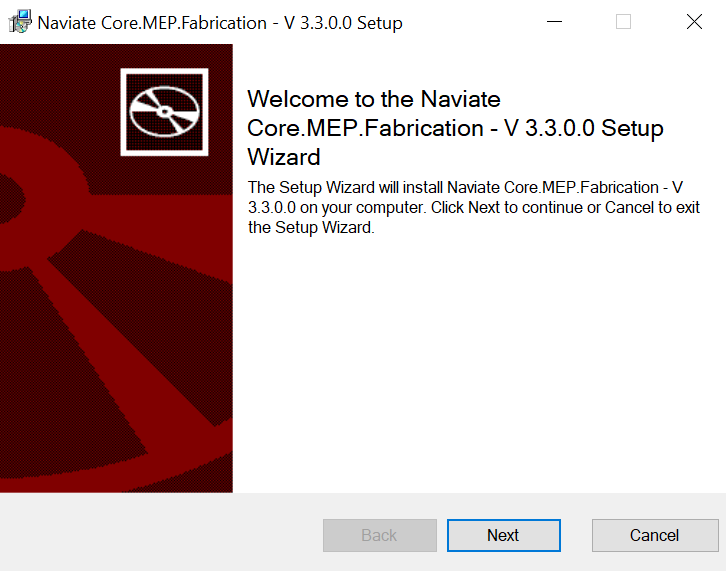
Launching the .msi opens up the Setup Wizard dialog.
- Click Next to continue; click Cancel to exit the Setup Wizard:
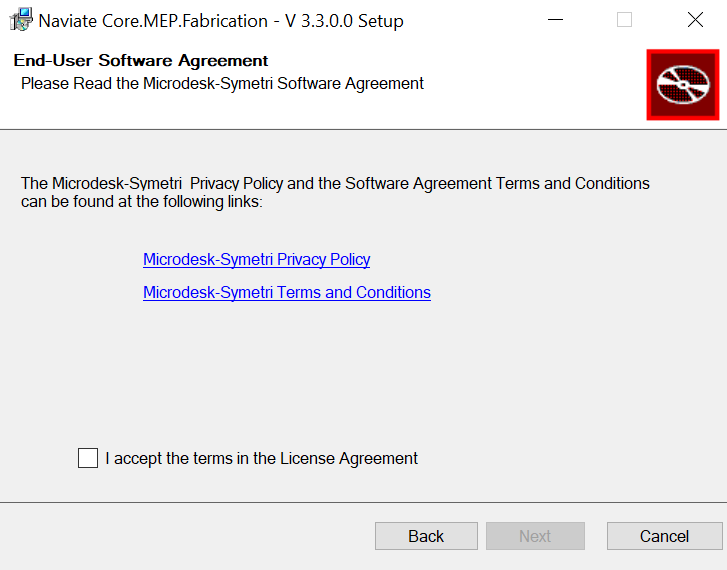
Please read the following End-User License Agreement carefully.
- Click the checkbox to accept the terms in the License Agreement; click Next to continue:
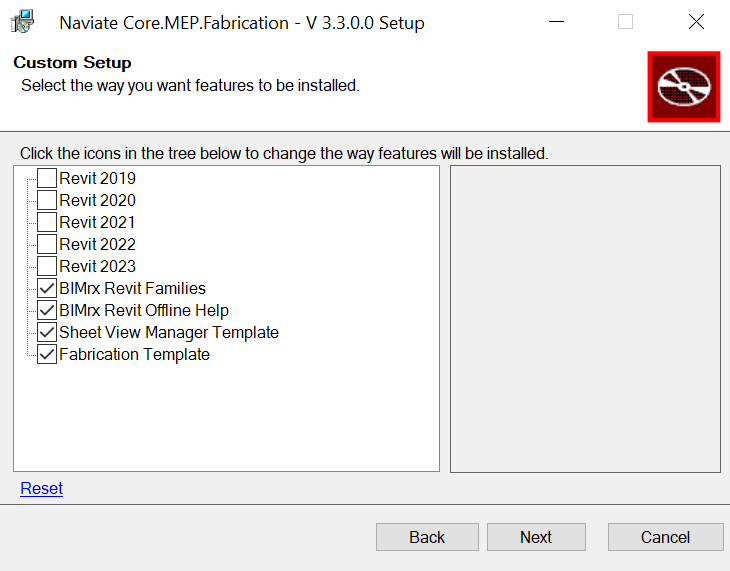
In the Custom Setup, you have the option to decide for which version(s) of Revit you would like Naviate installed.
- Click the drop-down next to each version of Revit to remove or add from the installation; click Next to continue.
- Alternatively click the Reset button. This will automatically identify which versions of Revit on your machine Naviate can be installed for.
- Click Install to begin the installation; click Back to review or change any of your installation settings; click Cancel to exit the wizard:
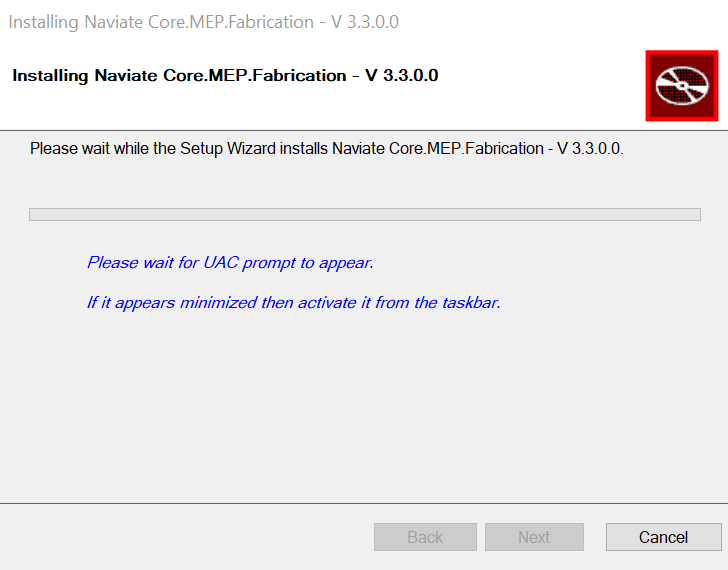
- User may have to click Yes on a Windows dialog box that pops up.
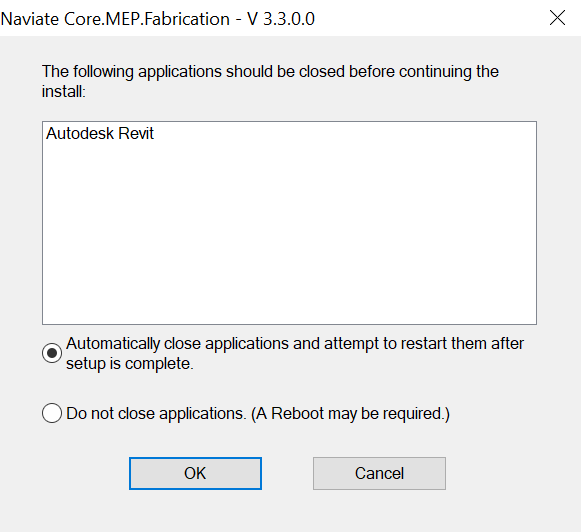
- If there are any active sessions of Revit open, user will get the following pop up, prompting to close Revit:
- Click Finish to exit the Setup Wizard:
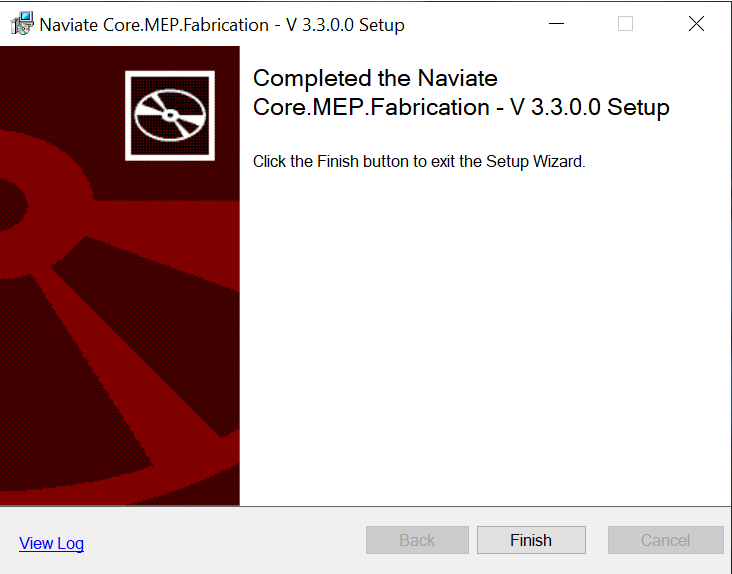
Naviate is now officially installed on your machine.