Create Table
The Create Table command copies the print region of the selected Excel worksheet and creates a static schedule (Table) in Revit as either a schedule or drafting view.
In Revit:
- Navigate to the Naviate tab >> Naviate Core panel >> Create Table command.

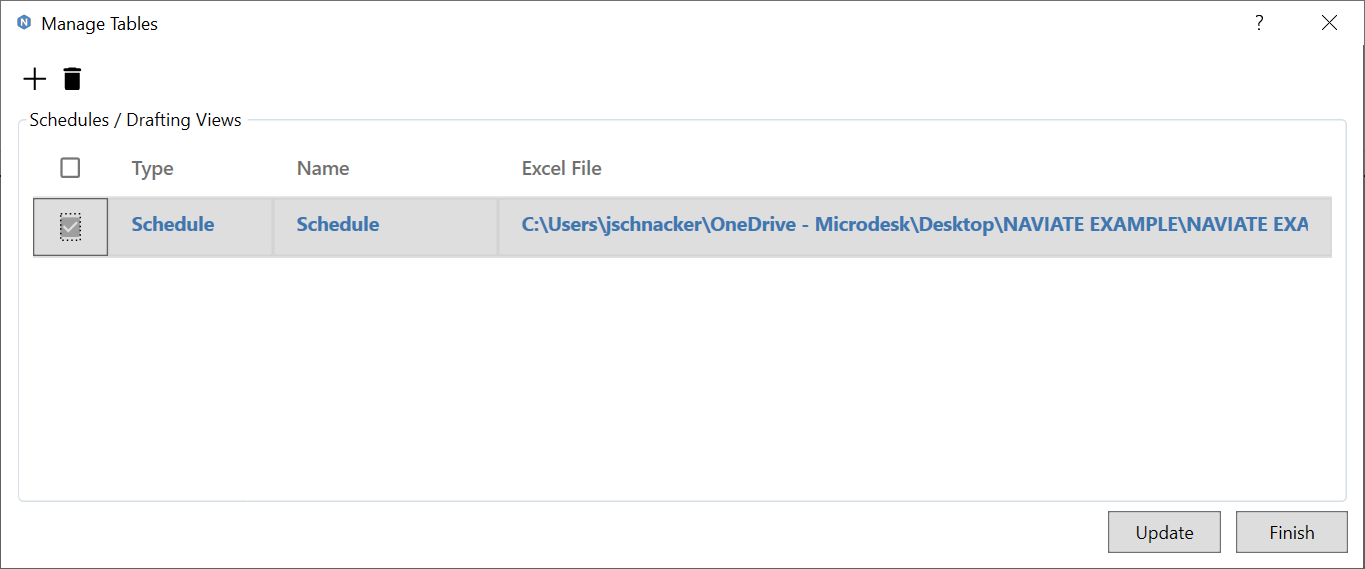
- Naviate opens up the Create Table dialog:
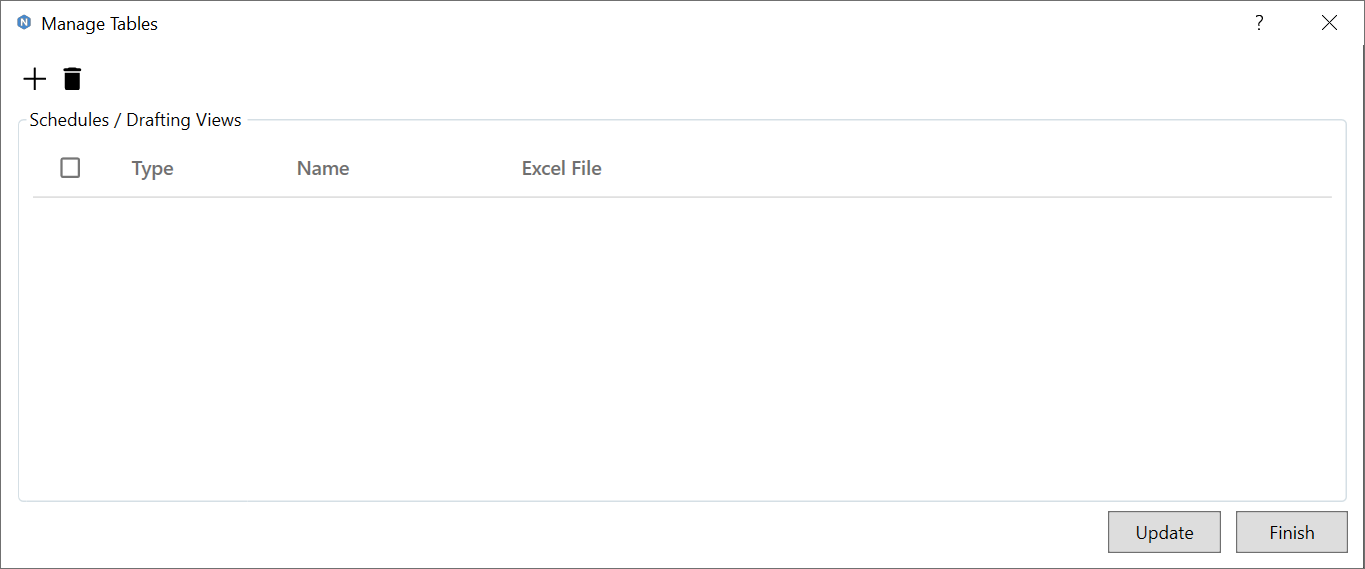
- Use the
 button to add a new Excel table
 - Use the
 button to delete an instance of an Excel table
  button will update the selected instance of the Revit table to the original Excel file.
  button will finish and close the dialogue
- To create a new instance of an Excel table Select the
 button which will open the format dialogue
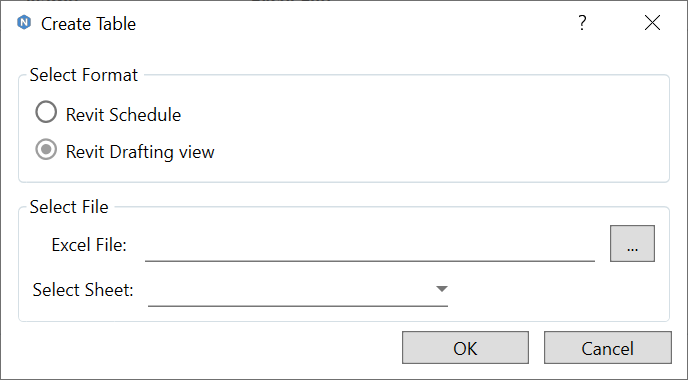
- Select the format type between a Revit Schedule or a Revit Drafting view
- for a Revit Schedule, the Create Table feature will convert the Excel table into the header of a Revit schedule text and cells. This will not convert any images from the Excel file
- for a Revit drafting view, the Create Table feature will convert the Excel table into a drafting view as lines, text, and filled regions. This will also bring any images into the drafting view that were in the Excel file.
- Use the
 button to select the file location
 - Use the dropdown to select the sheet from the Excel file
 button will run the command to create the schedule via the inputs
 button will cancel and close the dialogue
- If colors are used, a warning will notify you that the colors may not match due to the color theme difference between Excel and Revit
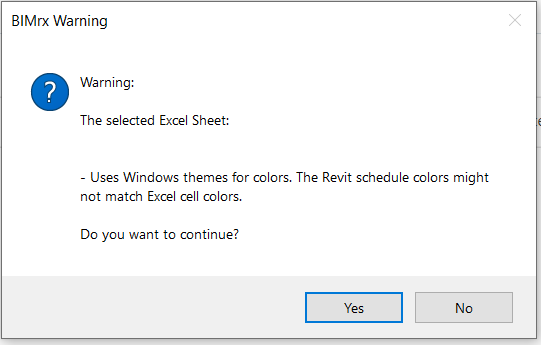
- Select Yes to continue or No to cancel
- If you select to create a Revit Schedule and the Excel file has images, a warning will notify you that images will not be imported into the Revit Schedule
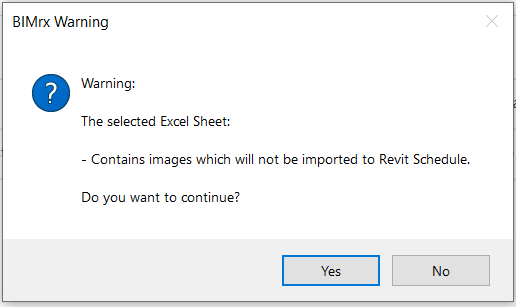
- Select Yes to continue or No to cancel
- Once you select to continue either the Revit schedule or drafting view will be created and the view will open.
- Schedules and Drafting Views are associated to their excel files and can be updated to any changes that are made to the excel files using the Update button
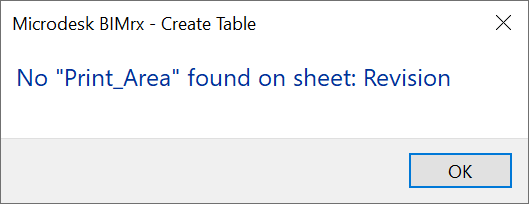
Note: A 'Print Area' of the area in Excel must be created the the sheet that is being converted.
