Print Set Manager
The Print Set Manager provides users with an easy and efficient way to create and manage Print Sets in their projects. The Print Set Manager gives users the ability to add/remove Views/Sheets from a specific Print Set and add/duplicate/delete Print Sets. The Print Set Manager has additional features to show and filter Views/Sheets in Print Sets.
In Revit:
- In the ribbon, navigate to the BIMrx tab >> BIMrx Core panel >> Print Set Manager command:

- This will automatically open up the Print Set Manager dialog.

In this environment, the user has the option to create Print Sets along with Sheets/Views added manually in the Print Set Manager, use Add/Duplicate/Delete button to manage Print Sets, use Filter Type/Filter Value/Sheet-View pop up window to easily filter out and show/hide expected Sheets and Views in the selected Print Set.
Click Save and Apply button to push checked Print Sets to Revit, and the unchecked or deleted Print Sets will be removed from Revit print Settings. Print Set Manager will save the unchecked Print Sets' data for future use.
Print Set Manager Dialog Interface:
- The dialog box will show all existing Print Sets from Revit project along with their Sheet/View data when first time click Print Set Manager command.
- Sheet/Views section will show all Sheets and Views from project with related check/unchecked data in selected Print Set.
Notes:
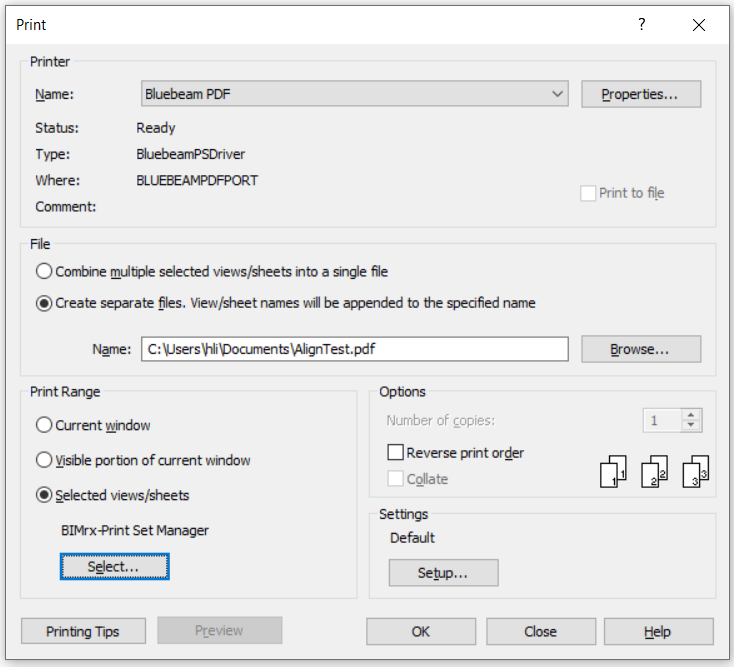
- Press Ctrl + P to print selected Print Set in Revit, data from Revit Print Settings should match what shows in Print Set Manager.