Elevation
With the help of the Elevation command, the Revit user can quickly place N/S/E/W elevations in the center of each selected room. And if the room is rotaed with an angle and no longer facing true north, the A/B/C/D elevations will be created.
In Revit:
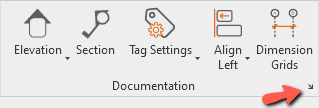
- In the ribbon, navigate to the BIMrx tab >> BIMrx Core panel >> Documentation Group >>Documentation Settings command (arrow button):
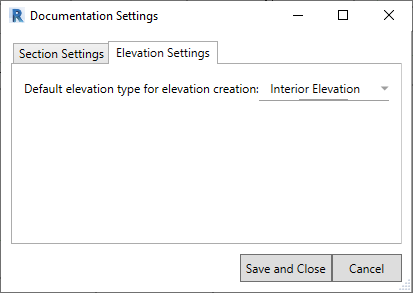
- Then go to Elevation Settings tab
- In the Type drop-down, select the elevation type of elevation view you wish to create.
- Click Save and Close button to save the setting.
- In the ribbon, navigate to the BIMrx tab >> BIMrx Core panel >> Elevation command

- If there is no active selection, you will be prompted to Select Elements (Rooms).
- In the options bar, click Finish to finish the selection.

The Elevation command places Elevations pointing North, South, East, and West in all of the selected rooms at proper vertical and horizontal offsets.
Example of selecting rooms before using Elevation command: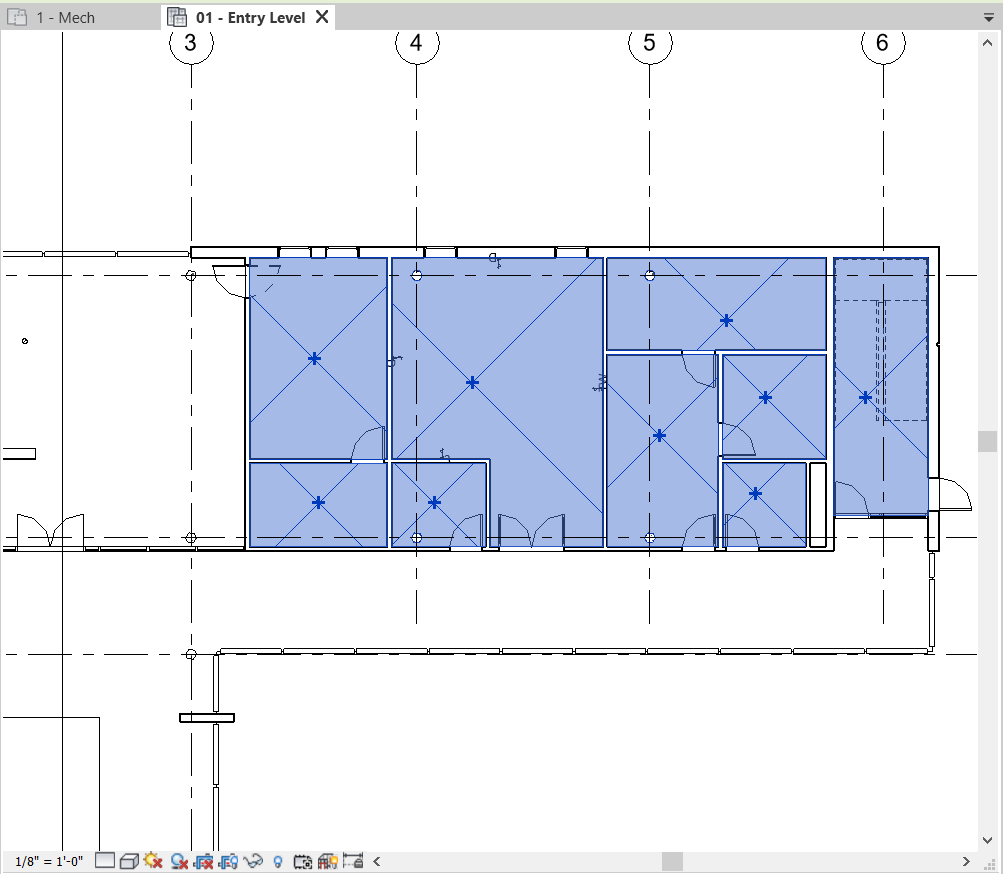
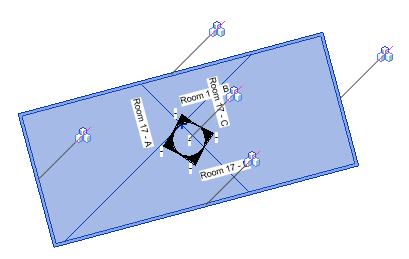
Example result:
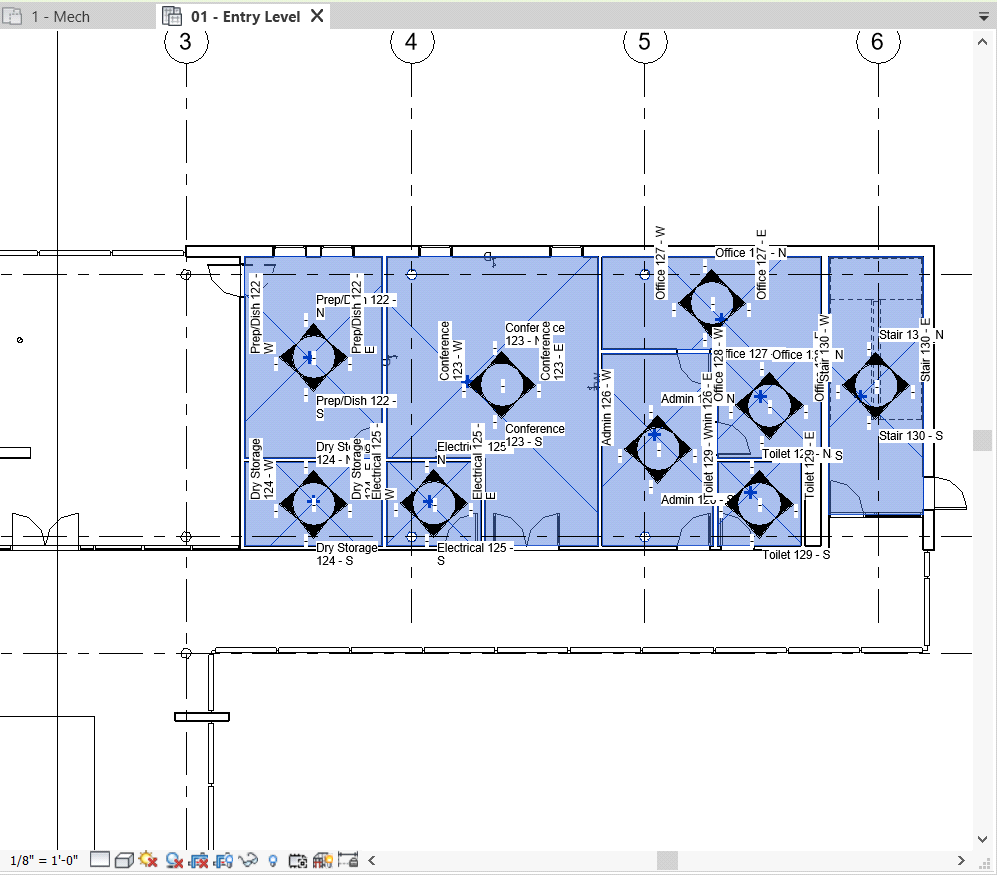
The Elevation command also places Elevations in the rooms facing non-true north in all of the selected rooms.
Example of selecting rooms before using Elevation command: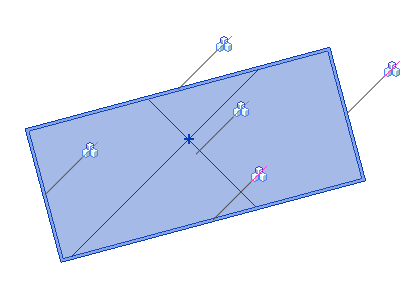
Example result:
Notes:
- Creating elevation views can take a long time depending on the number of rooms you are creating elevation views for.
- Selected rooms that already have elevation views will be skipped.
- Elevation command will only allow user to select rooms in the non-linked models.