Custom Integration Definition
BIM 360® Custom Integrations must be configured to allow the BIMrx® Cloud Manager Custom Connections to be established with BIM 360®.
IMPORTANT NOTICE:
Custom Integration may not be enabled for all organizations. If Custom Integrations is not enabled, a simple request to Autodesk® is all that is needed to enable Custom Integrations. Follow the request instructions below:
Send an email to bim360appsactivations@autodesk.com with a request to convert your BIM 360® account to a developer account. Include the following information.
- BIM 360® Account Name - the email address you used to create the account.
- BIM 360® Account ID - the account ID generated when you created the account.
- Email address of the BIM 360® account admin.
Full details can be found at:
If the Forge App and corresponding Custom Application are already in place, skip ahead to the BIMrx® Cloud Manager Setup section.
To create a Custom Integration:
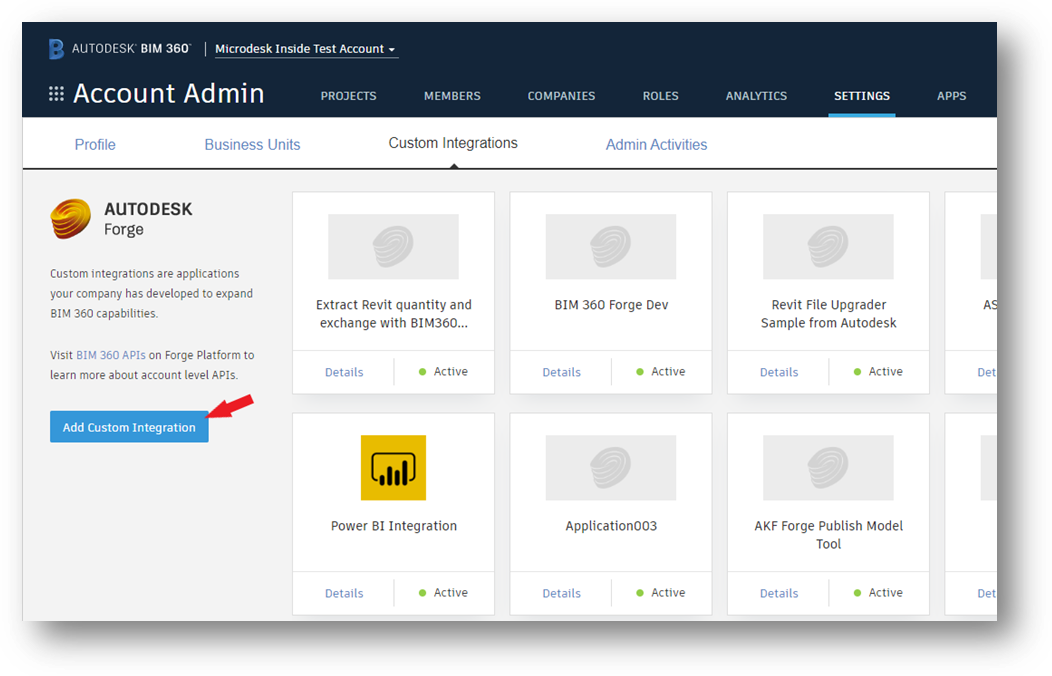
- Log into the Autodesk® BIM 360® account as the Account Admin. Click on Settings > Custom Integrations (see below).
- Then, click on the Add Custom Integration button to bring up the following screen:
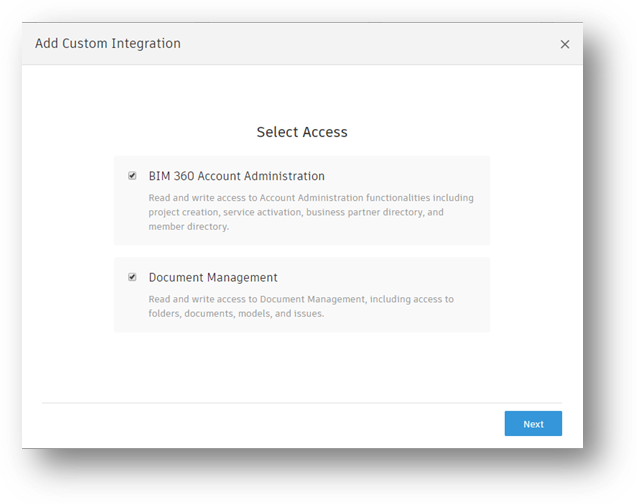
- Leave both sets of APIs selected (the default) and click Next, and then select I’m the developer. Click the Next button to continue.
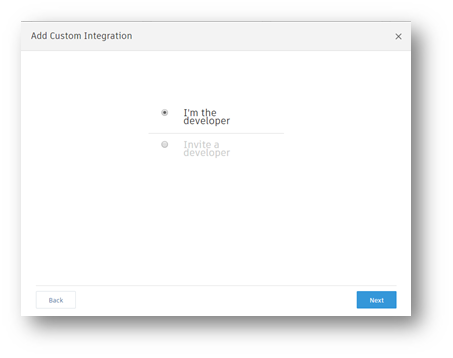
- The Add Custom Integration dialog will be displayed

- Take note of the BIM 360® Account ID, and then enter the Forge Client Id (refer to Autodesk Forge App Definition above) and enter “BIMrx® Cloud Manager” in the App Name, then click the Save button. Complete the Autodesk® BIM 360® login to verify the newly created custom integration.