Tag Elements
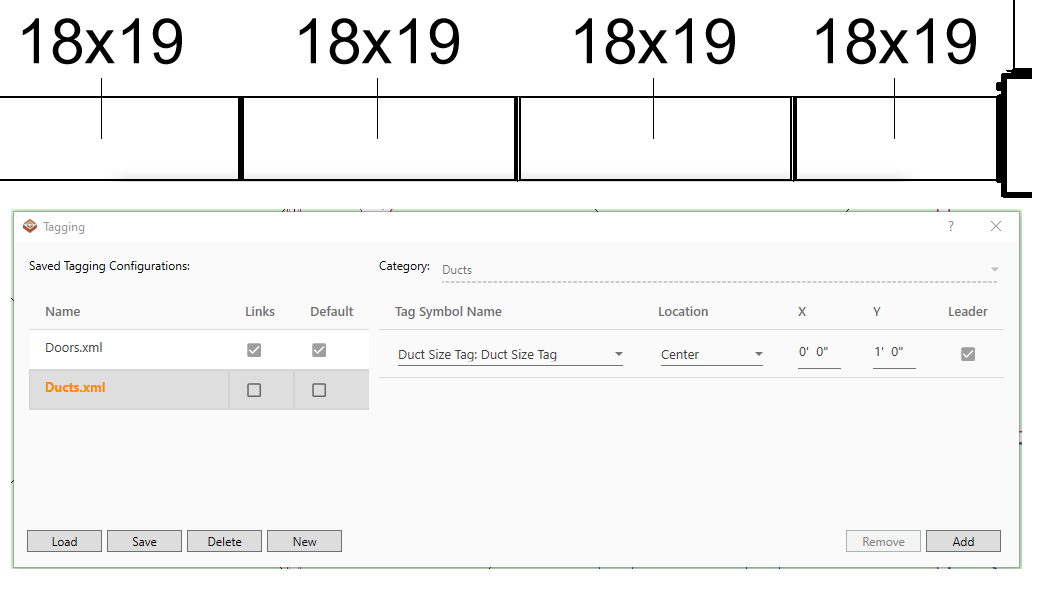
The Tagging dialog allows you to define how elements will be tagged:
Saved Tagging Configurations define the following:
- Name - Name of the saved XML file
- Links - Linked elements will be tagged
- Default - The default Tag Configuration (See Tag Select)
Saved Tagging Configurations are are managed using the Load, Save, Delete, and New buttons.
- Load - Loads existing tag settings file (*.xml)
- Save - Saves selected Tag Configuration
- Delete - Deletes selected Tag Configuration
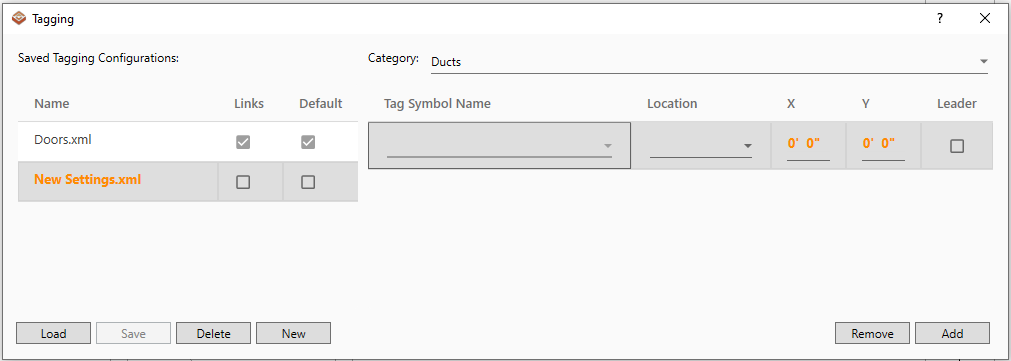
- New - Creates a new Tag Configuration
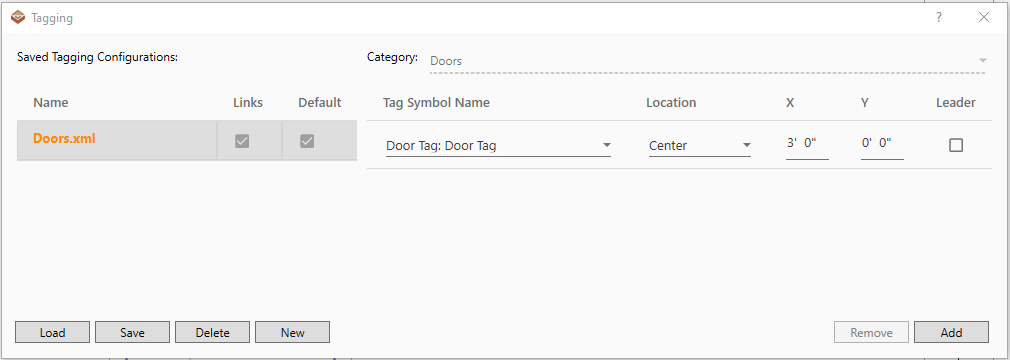
When a new New Tag Configuration is created a Category must be selected from the drop-down.
- Category - Category of Tag
- Tag Symbol Name - Family Symbol Name
- Location - Placement justification of tag
- X - Horizontal location offset from selected location
- Y - Vertical location offset from selected location
- Leader - Use leaders on tag
- Add - Create new Tag Symbol
- Remove - Delete select Tag Symbol
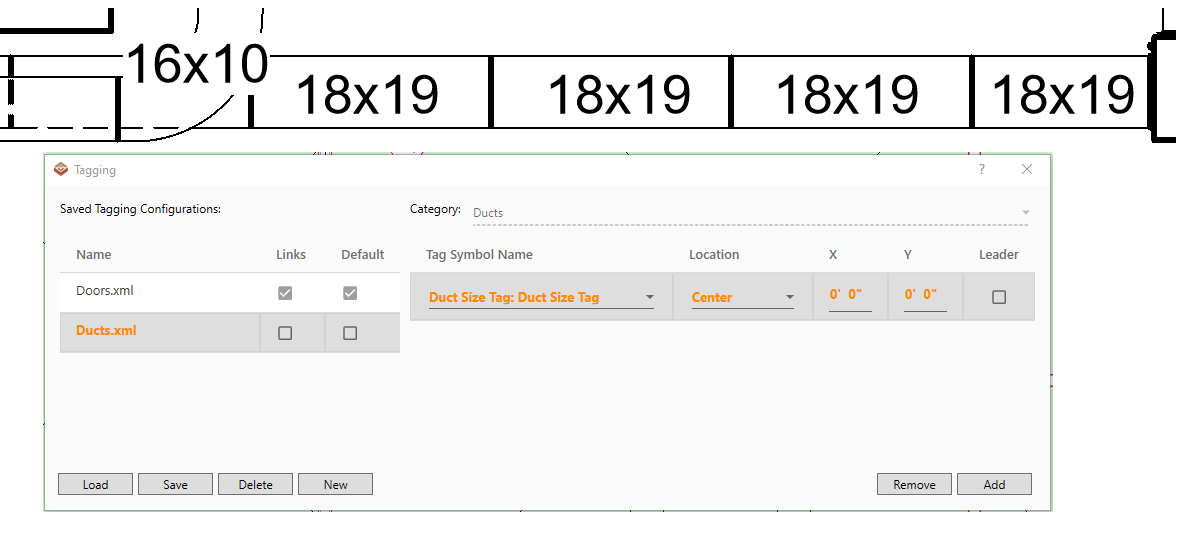
Once saved the elements may be tagged. With the Tag Select settings specified as desired, leave this dialog open and click on an element for the selected category.
- Only the selected Save Tagging Configuration elements can be tagged. (See Tag Select command for intuitive tagging)
- A selection window may also be used to tag multiple elements at a time.
- Modify settings on the fly to any value throughout workflow:
Adjust the Location, Leader, X, and/or Y settings for the desired results
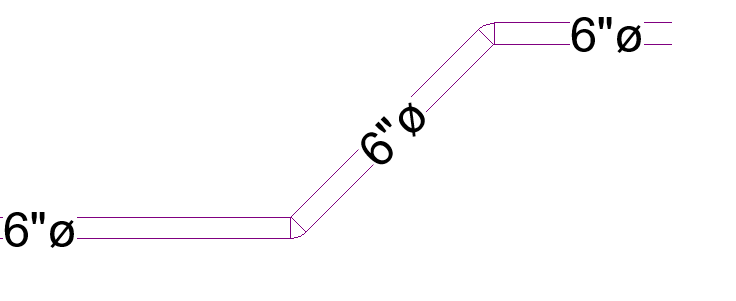
For linear elements such as duct, pipe, and conduit the tags will rotate to the correct angular orientation of the selected elements.
- Close out of the Tag Select window when finished tagging elements.
Notes:
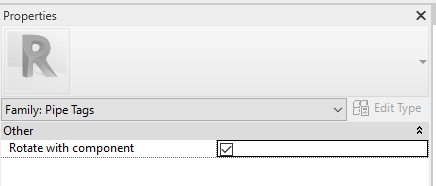
- For tags to align with the angular rotation of the element the Family must have the "Rotate with Component" property set in the Revit Family Editor.