Installation
The installation of the BIMrx® Cloud Manager requires the distribution package to be unzipped and extracted. Navigate to the extract folder and locate the MSI installer file, Microdesk BIMrx® Cloud Manager – v2.n.msi, and right click on the file and select “Install”.
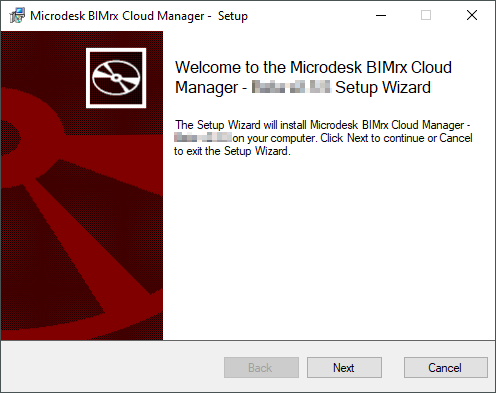
Once the installation dialog appears, press “Next” to begin the process.
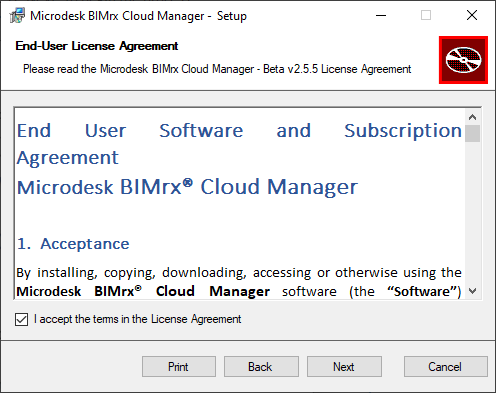
Please review the terms of the license agreement. Assuming the terms are acceptable, check to accept then click “Next” to continue.
If this is a beta software release, the terms of the beta agreement must also be accepted.
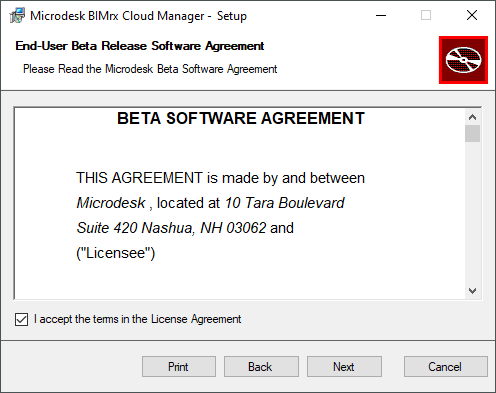
Once terms acceptance has been checked, the “Next” button becomes available. Pressing “Next” from the Beta Software Agreement dialog begins the installation process.
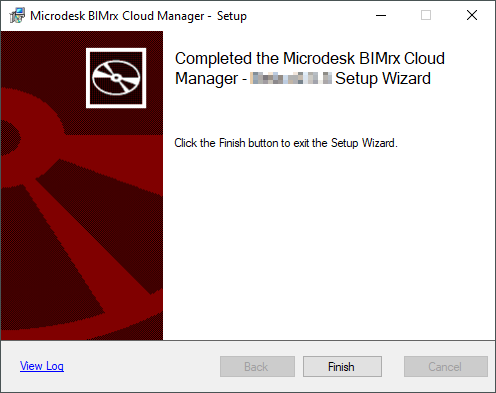
Once the installation has finished the Completed wizard page appears. Clicking “Finish” from here concludes the process.
There should now be a program icon on the Windows desktop and a new folder located on the main Windows menu, at Start > Microdesk. BIMrx® Cloud Manager is now ready to use!
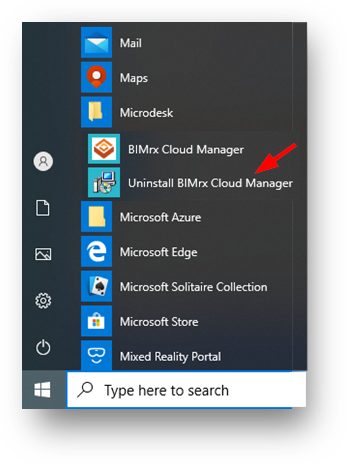
To uninstall BIMrx® Cloud Manager, go to the main Windows menu, Start > Microdesk > Uninstall CloudManager.
Alternatively, use Start > Settings > Apps > Microdesk BIMrx® Cloud Manager – v2.5 > Uninstall. This performs the same function as Programs > Uninstall a Program.
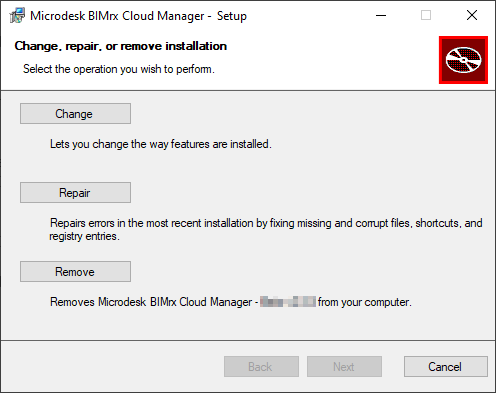
Press the “Remove” button to uninstall BIMrx® Cloud Manager.
Once the uninstall has completed, all previously installed files, shortcuts and menu items are removed from the system.