Autodesk® Connection
The first time BIMrx® Cloud Manager is run, after license entry, the following screen is displayed:
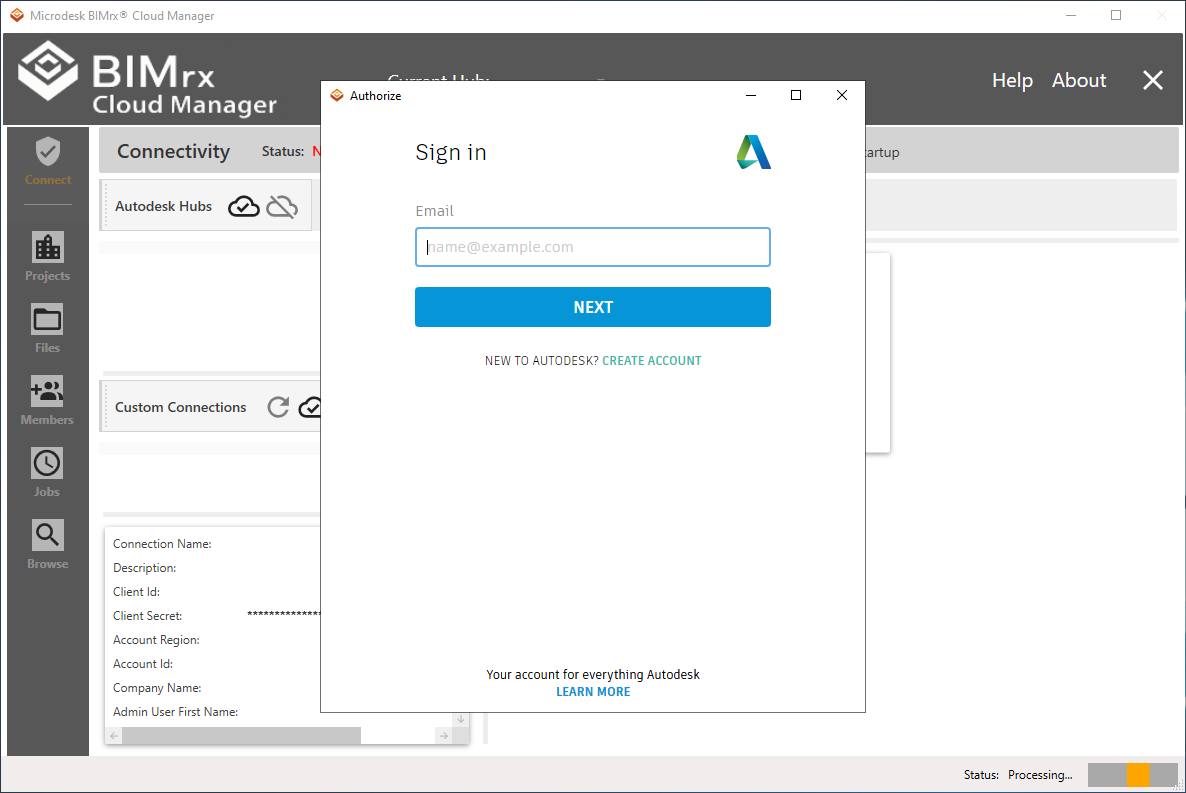
After entering the same Autodesk® login email address normally used to access Autodesk® BIM 360®, pressing Next brings up the following screen.
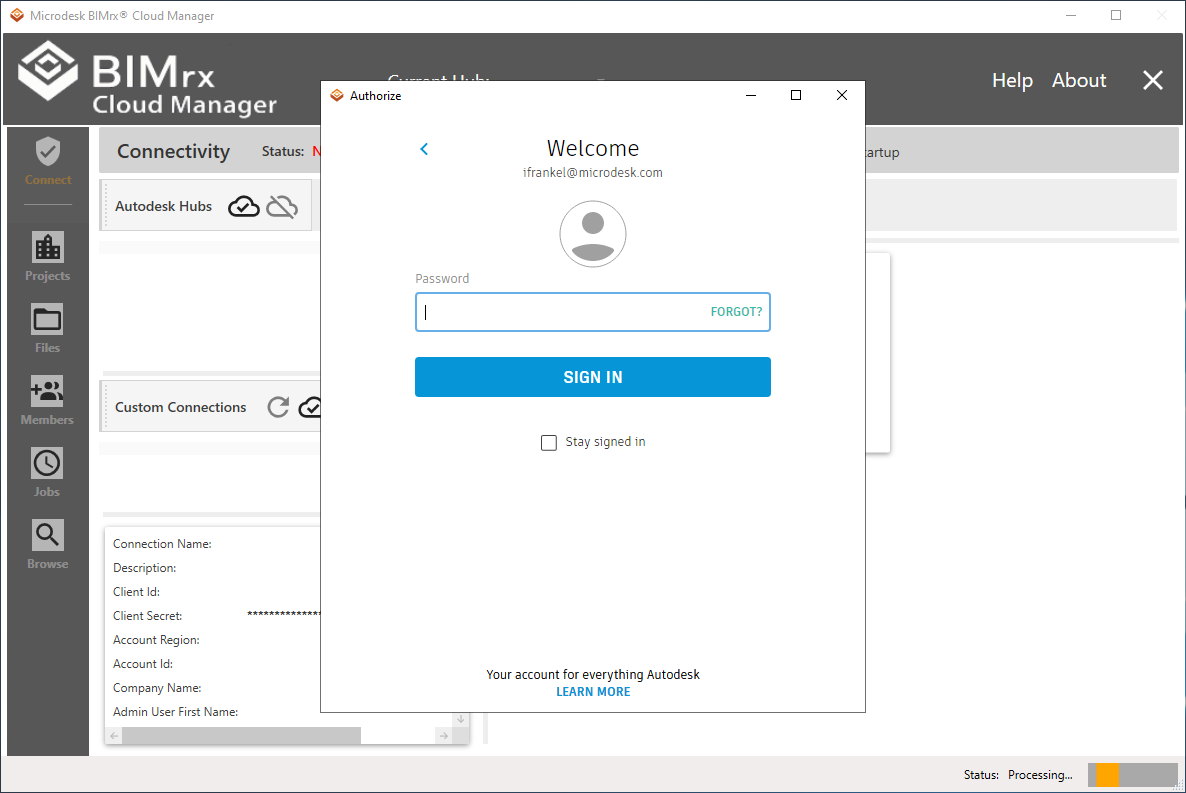
Once the customary Autodesk® BIM 360® password has been entered and the Sign In button pressed, the following informational screen appears.
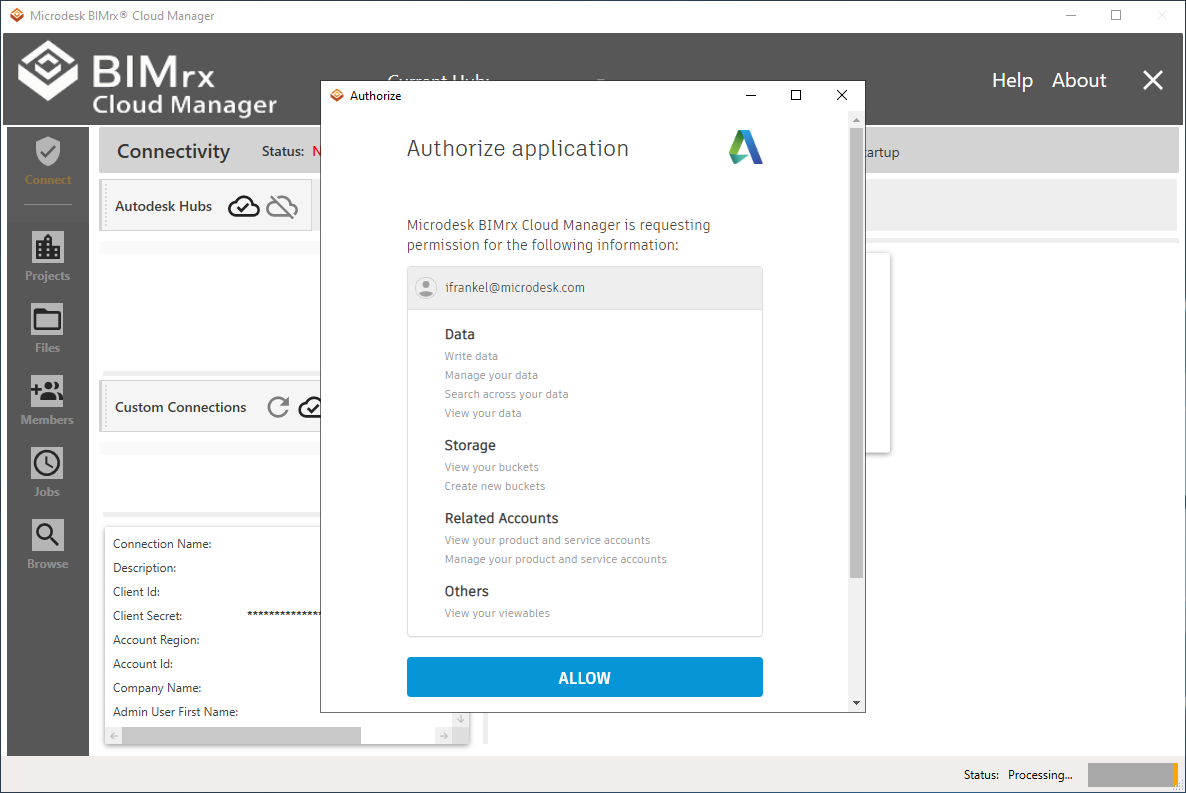
Finally, pressing the Allow button, completes the login process. Once successfully logged in, the following dialog box is presented.
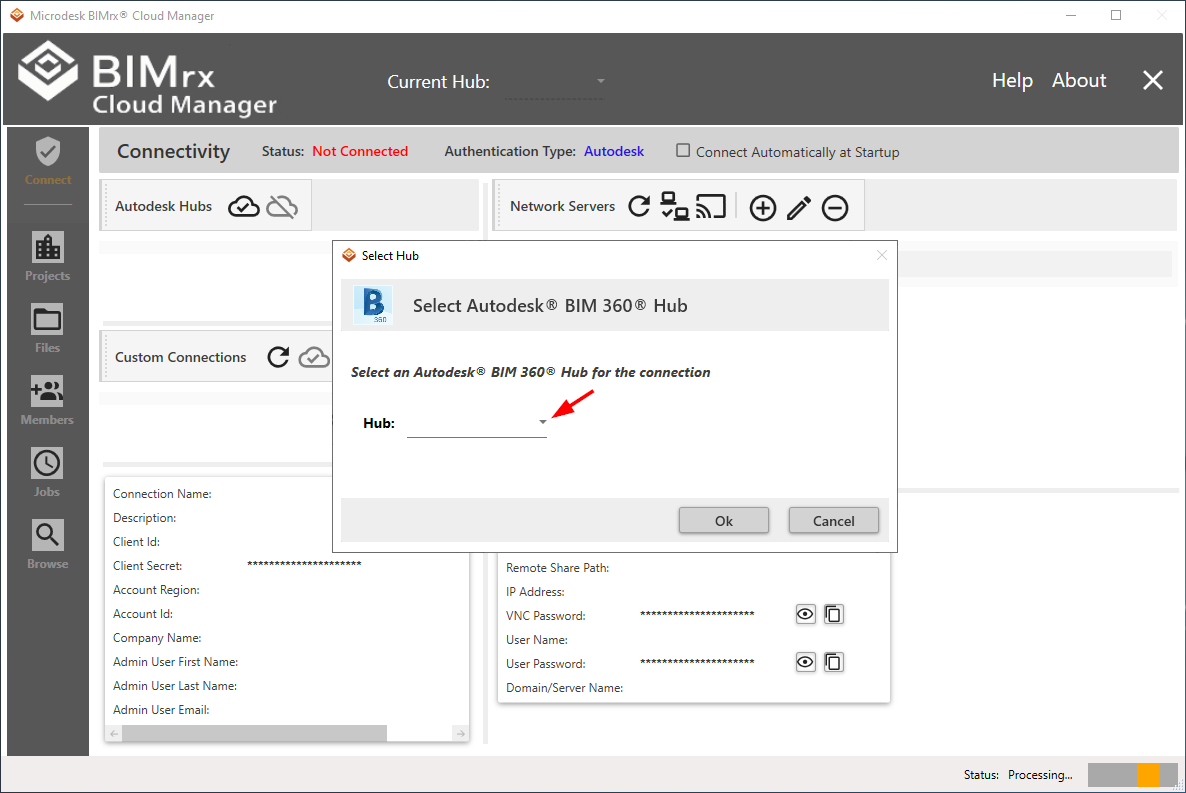
This dialog box contains a list of all Hub to which the user has been granted access and are available for connecting to. Press the dropdown list to present the Hub list.
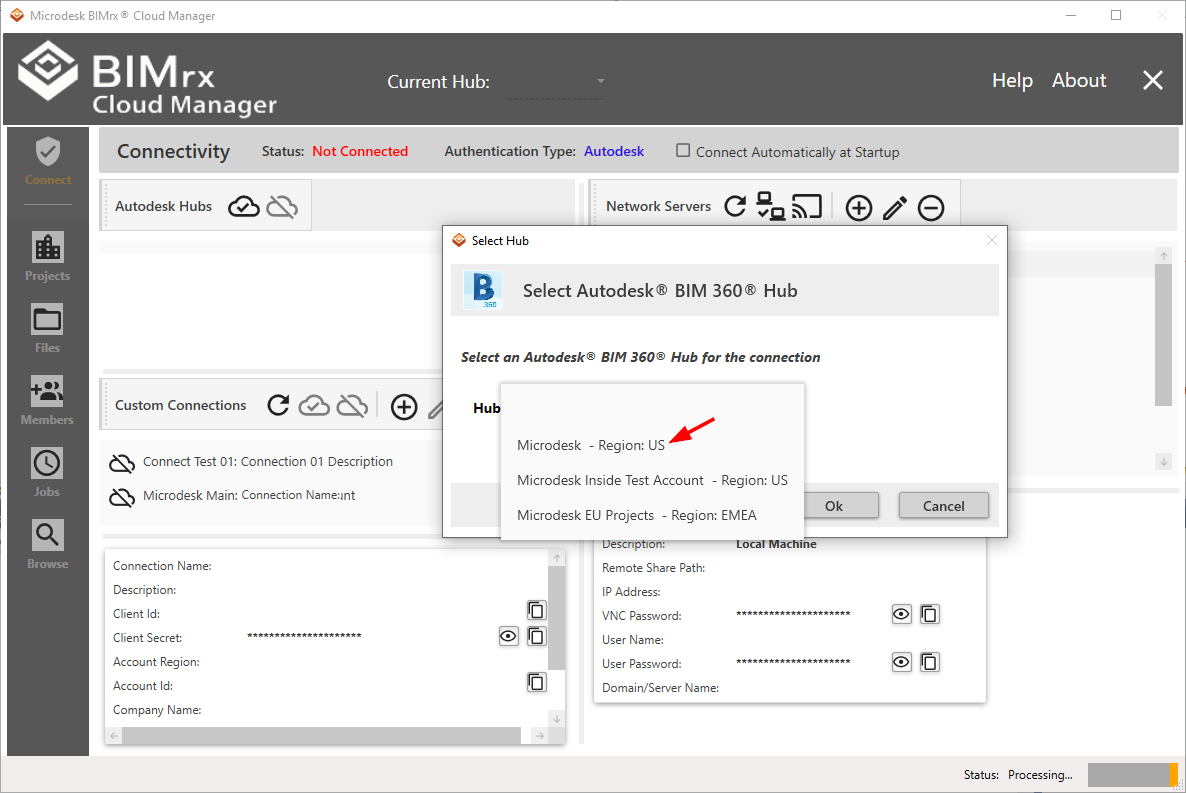
Select the desired Hub and press the Ok button. The connection is now established and BIMrx® Cloud Manager is now available for use.
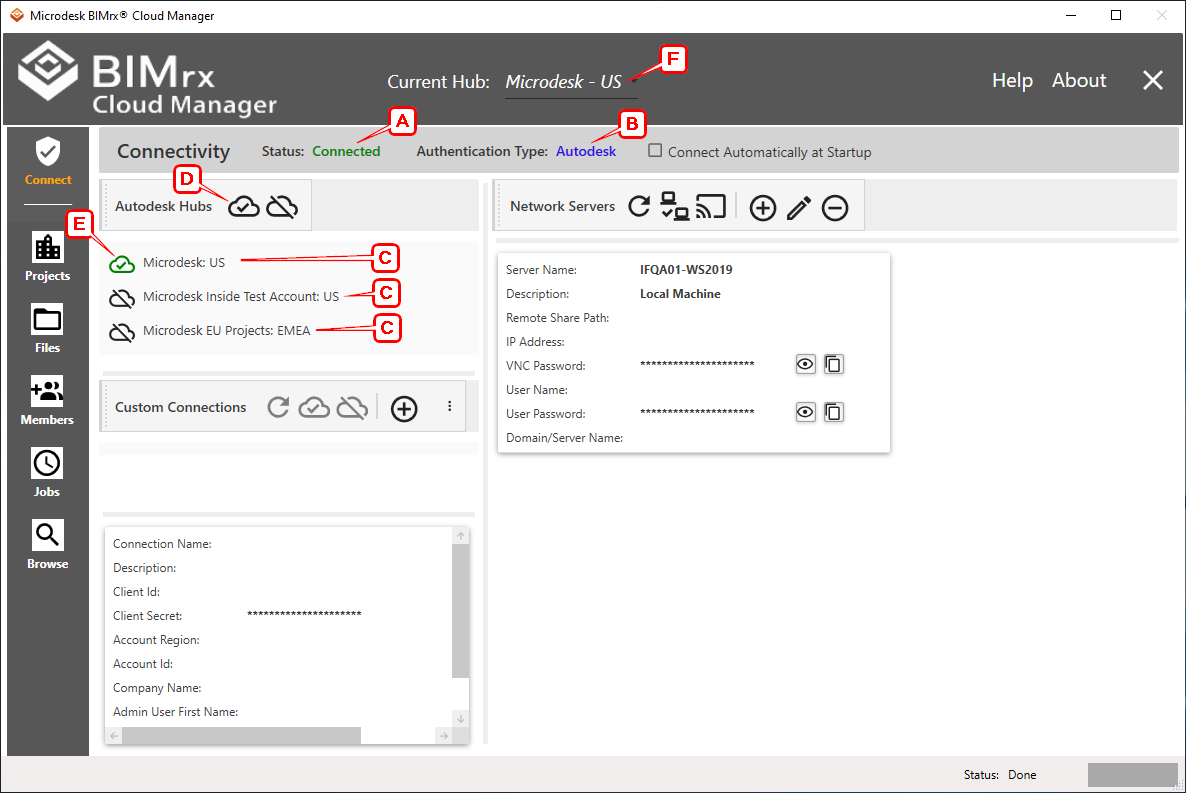
The following screen is now presented:
With the successful Autodesk® BIM 360® login completed, the login refresh information is encrypted and cached. This means new credentials will not need to be re-entered until the current ones expire, the same as with the Autodesk® BIM 360® login.
Once logged in, the following features are available. Connection Status A and Authentication Type B are displayed on the Connectivity tab. All available Autodesk® BIM 360® Hubs C are displayed under Autodesk® Hubs. These may be connected to by either pressing a Hub C and the Connect button D, or by double-clicking on a Hub C. The connected hub will display the green current connection icon E, as well as on the Current Hub in the dropdown list F. Additionally, a new Hub can be selected by pressing the Current Hub dropdown list F, as shown below.
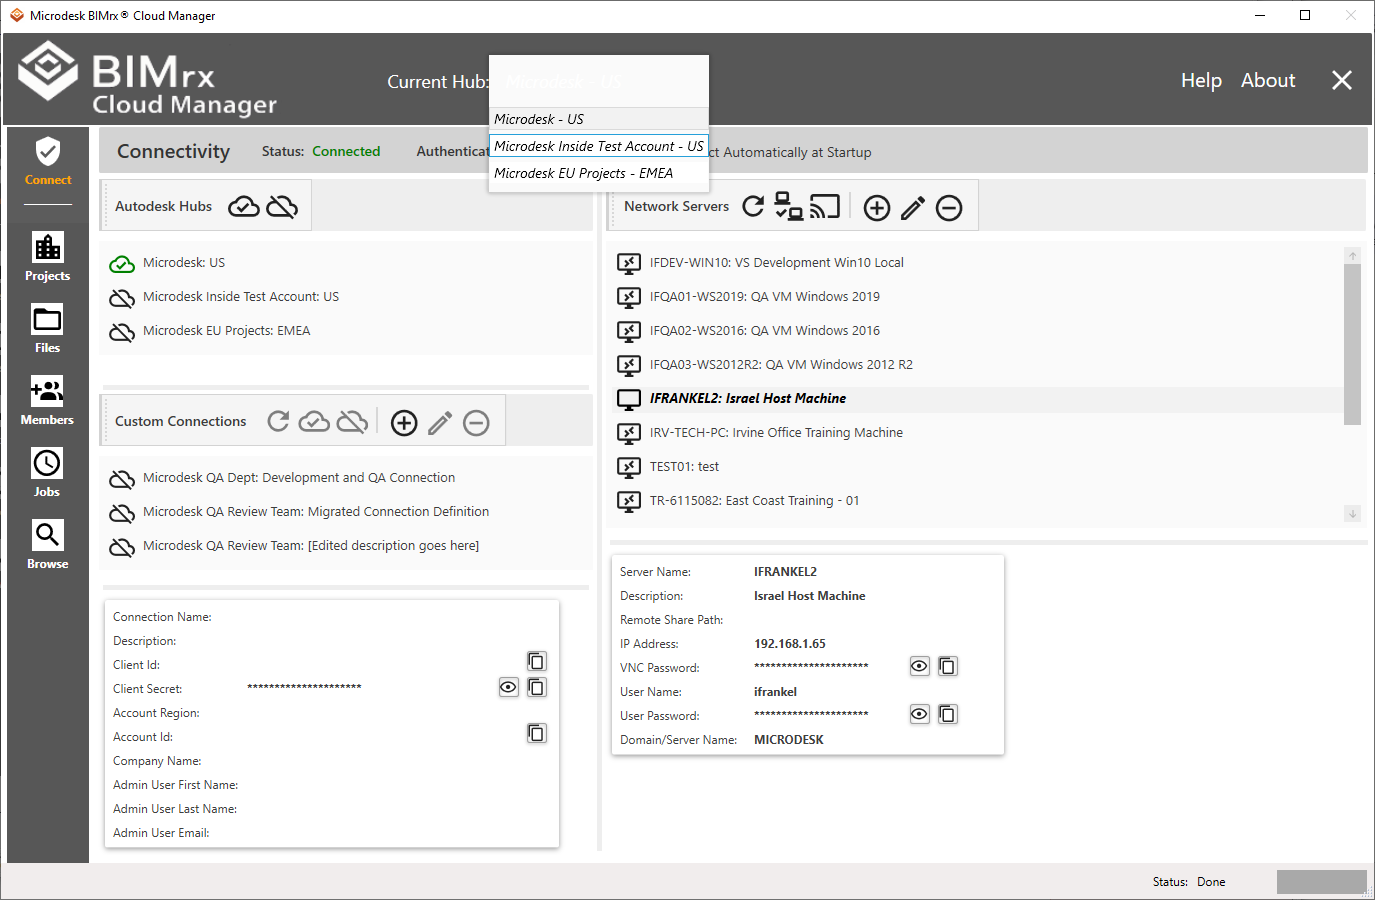
Simply select the desired Hub from the list and it is connected. What makes using the Current Hub selection list so useful, is that it is available from everywhere in the system. For example, while Browsing projects, it is a simple matter to change Hubs to view that project's hubs.